Sending or scheduling your Campaigns
How to send a campaign immediately or schedule it to be sent at a later date and time
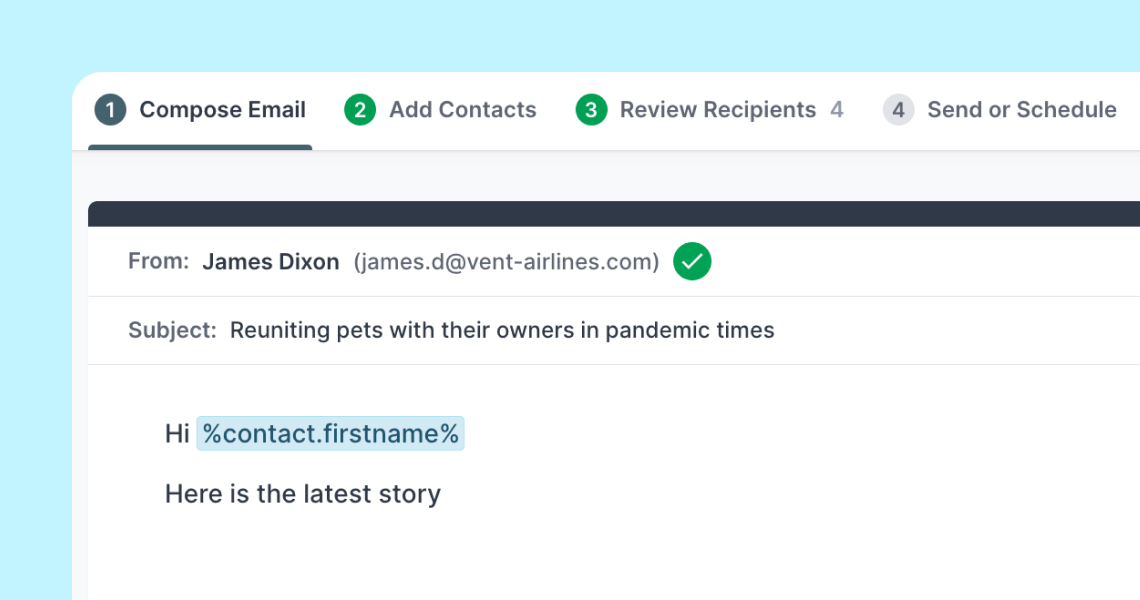
Once you've created a campaign, and added and reviewed your recipients list, it's time for Step 4. You can send the email on the spot or schedule it so you can rest easy knowing your campaign will still make it to your contacts' inboxes later. 😊
There's no turning back once you hit the "Send Campaign button! So, if you're 100% sure your email is ready to go, feel free to choose to "Send immediately" 🚀
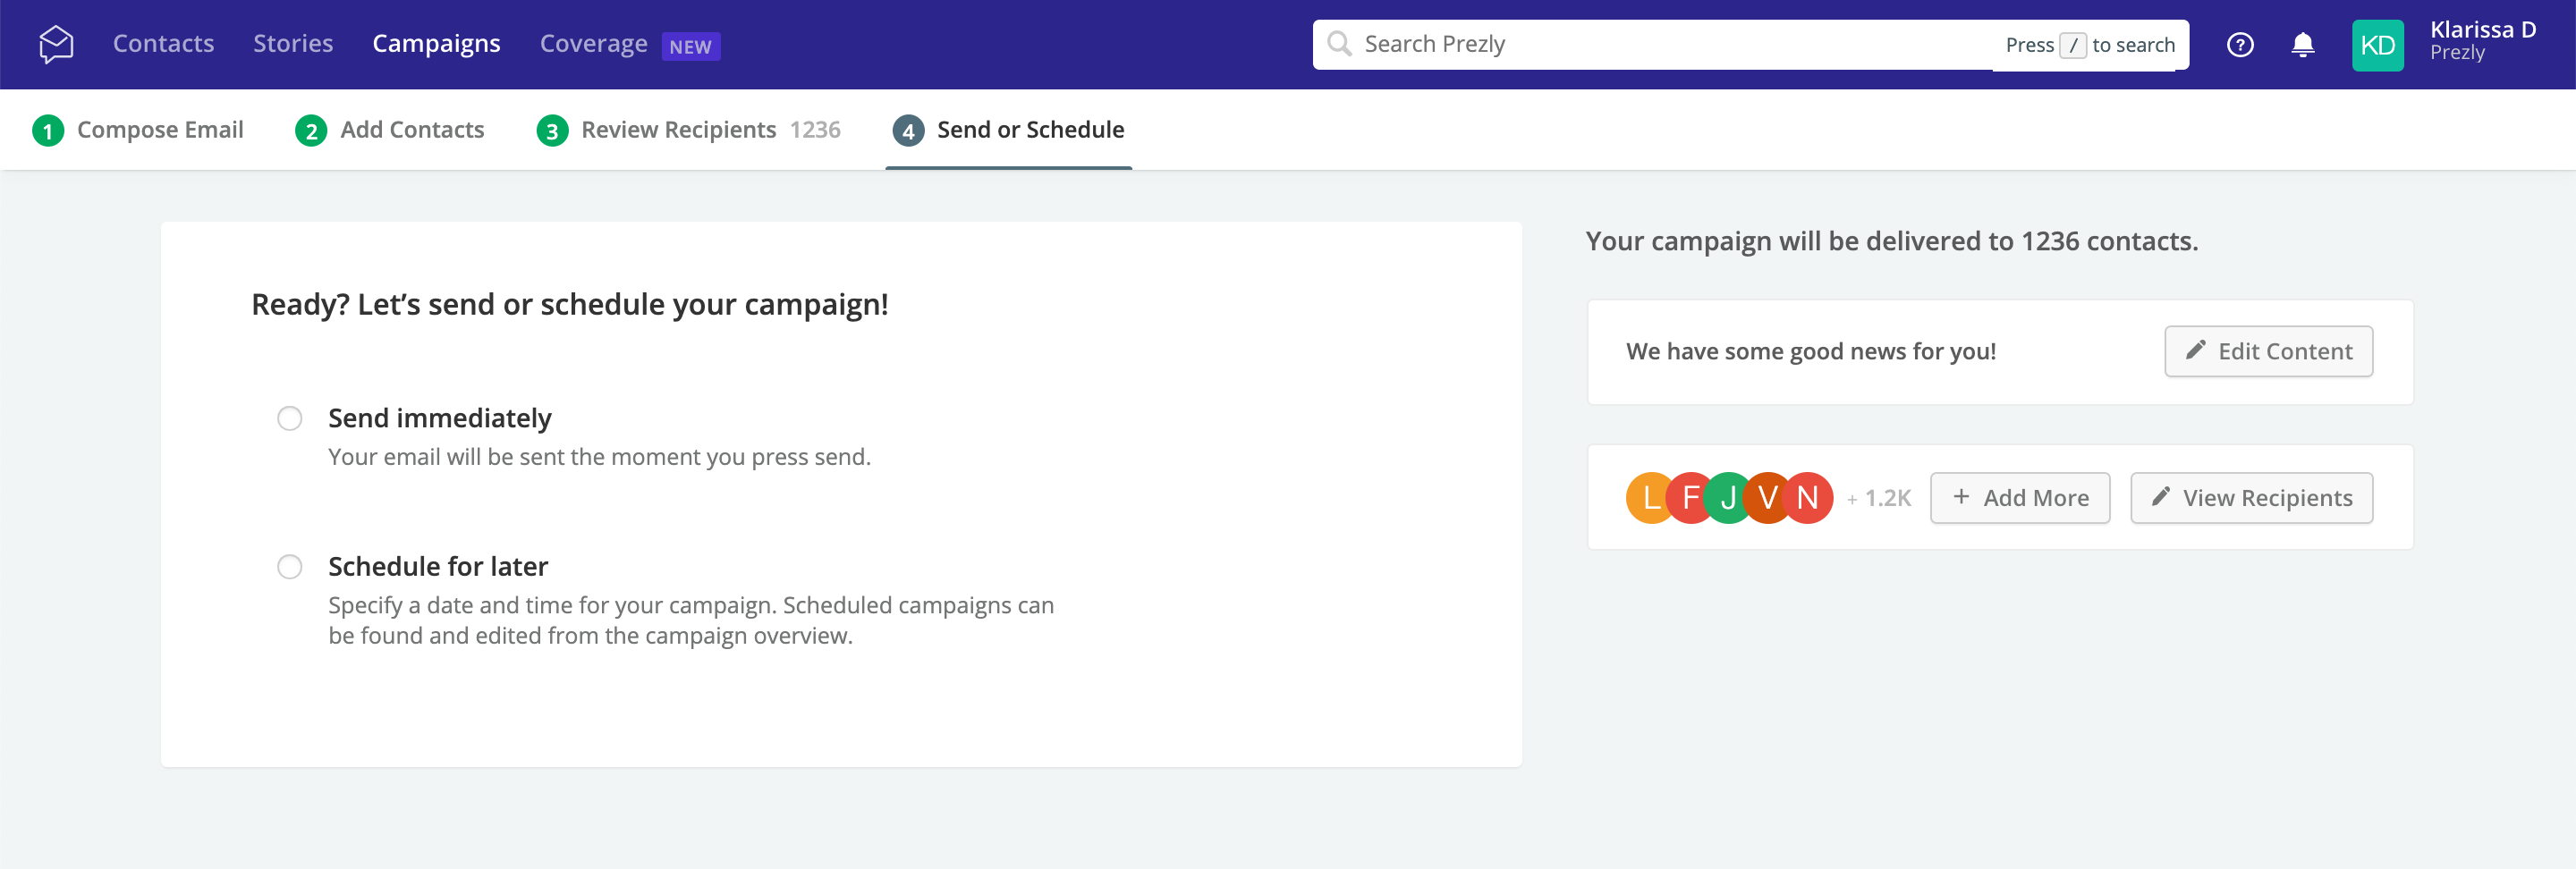
Alternatively, choosing to schedule your campaign allows you to set a specific date or time in the future for the email to go out to your contacts.
Once you've selected a date and time, and clicked on "Schedule Campaign" you will see a confirmation message at the top right side of the Campaign Composer, letting you know when your campaign will be sent and how many contacts it will be delivered to.
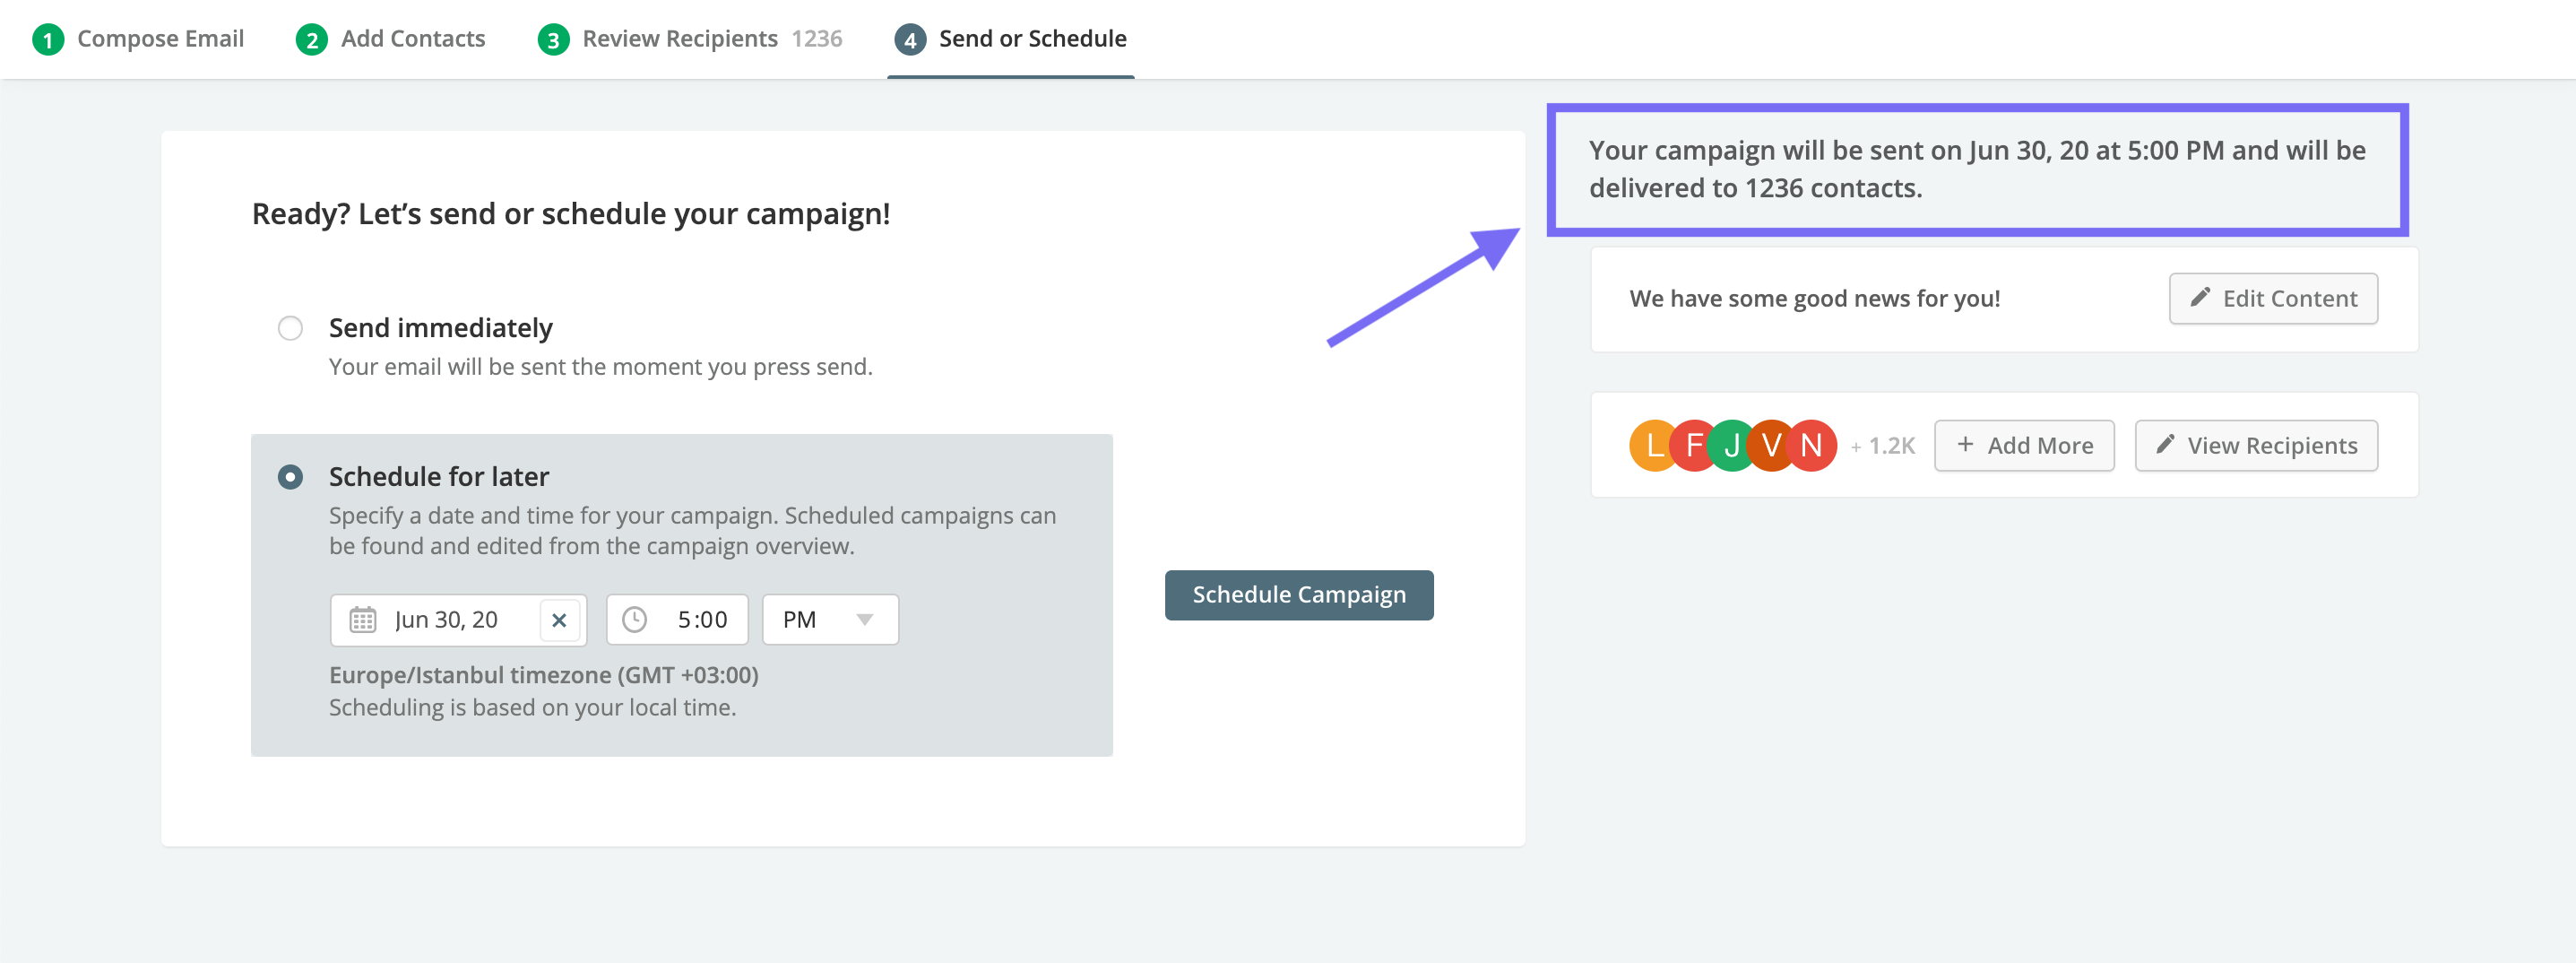
🚦The time zone that your account is set in will affect the time zone for your scheduled campaigns. Make sure you have set up your default time zone before scheduling your email to avoid it being sent at the wrong time.
Need to unschedule a campaign? Here's how →
After your email campaigns are sent, you'll be able to check how they perform in the Campaign Report. Learn more about Campaign Reports →
A campaign must be unscheduled before making any changes – adding more or removing recipients, making edits to the content, or updating the scheduled date and time.
If you need to cancel or change any information for a scheduled campaign, you can find your scheduled campaigns by clicking on the "Scheduled" filter on the left sidebar of the Campaigns page. Once filtered, look for your target campaign, mouse over and click on the (...) button, then click on "Unschedule Campaign". This should return your target campaign back into Draft mode so you can apply your changes.
