Tagging your contacts
How to create, delete, and use tags to categorize your contacts.
Tags help you categorize or separate different groups of contacts. This enables you to easily search for specific groups of contacts within your database.
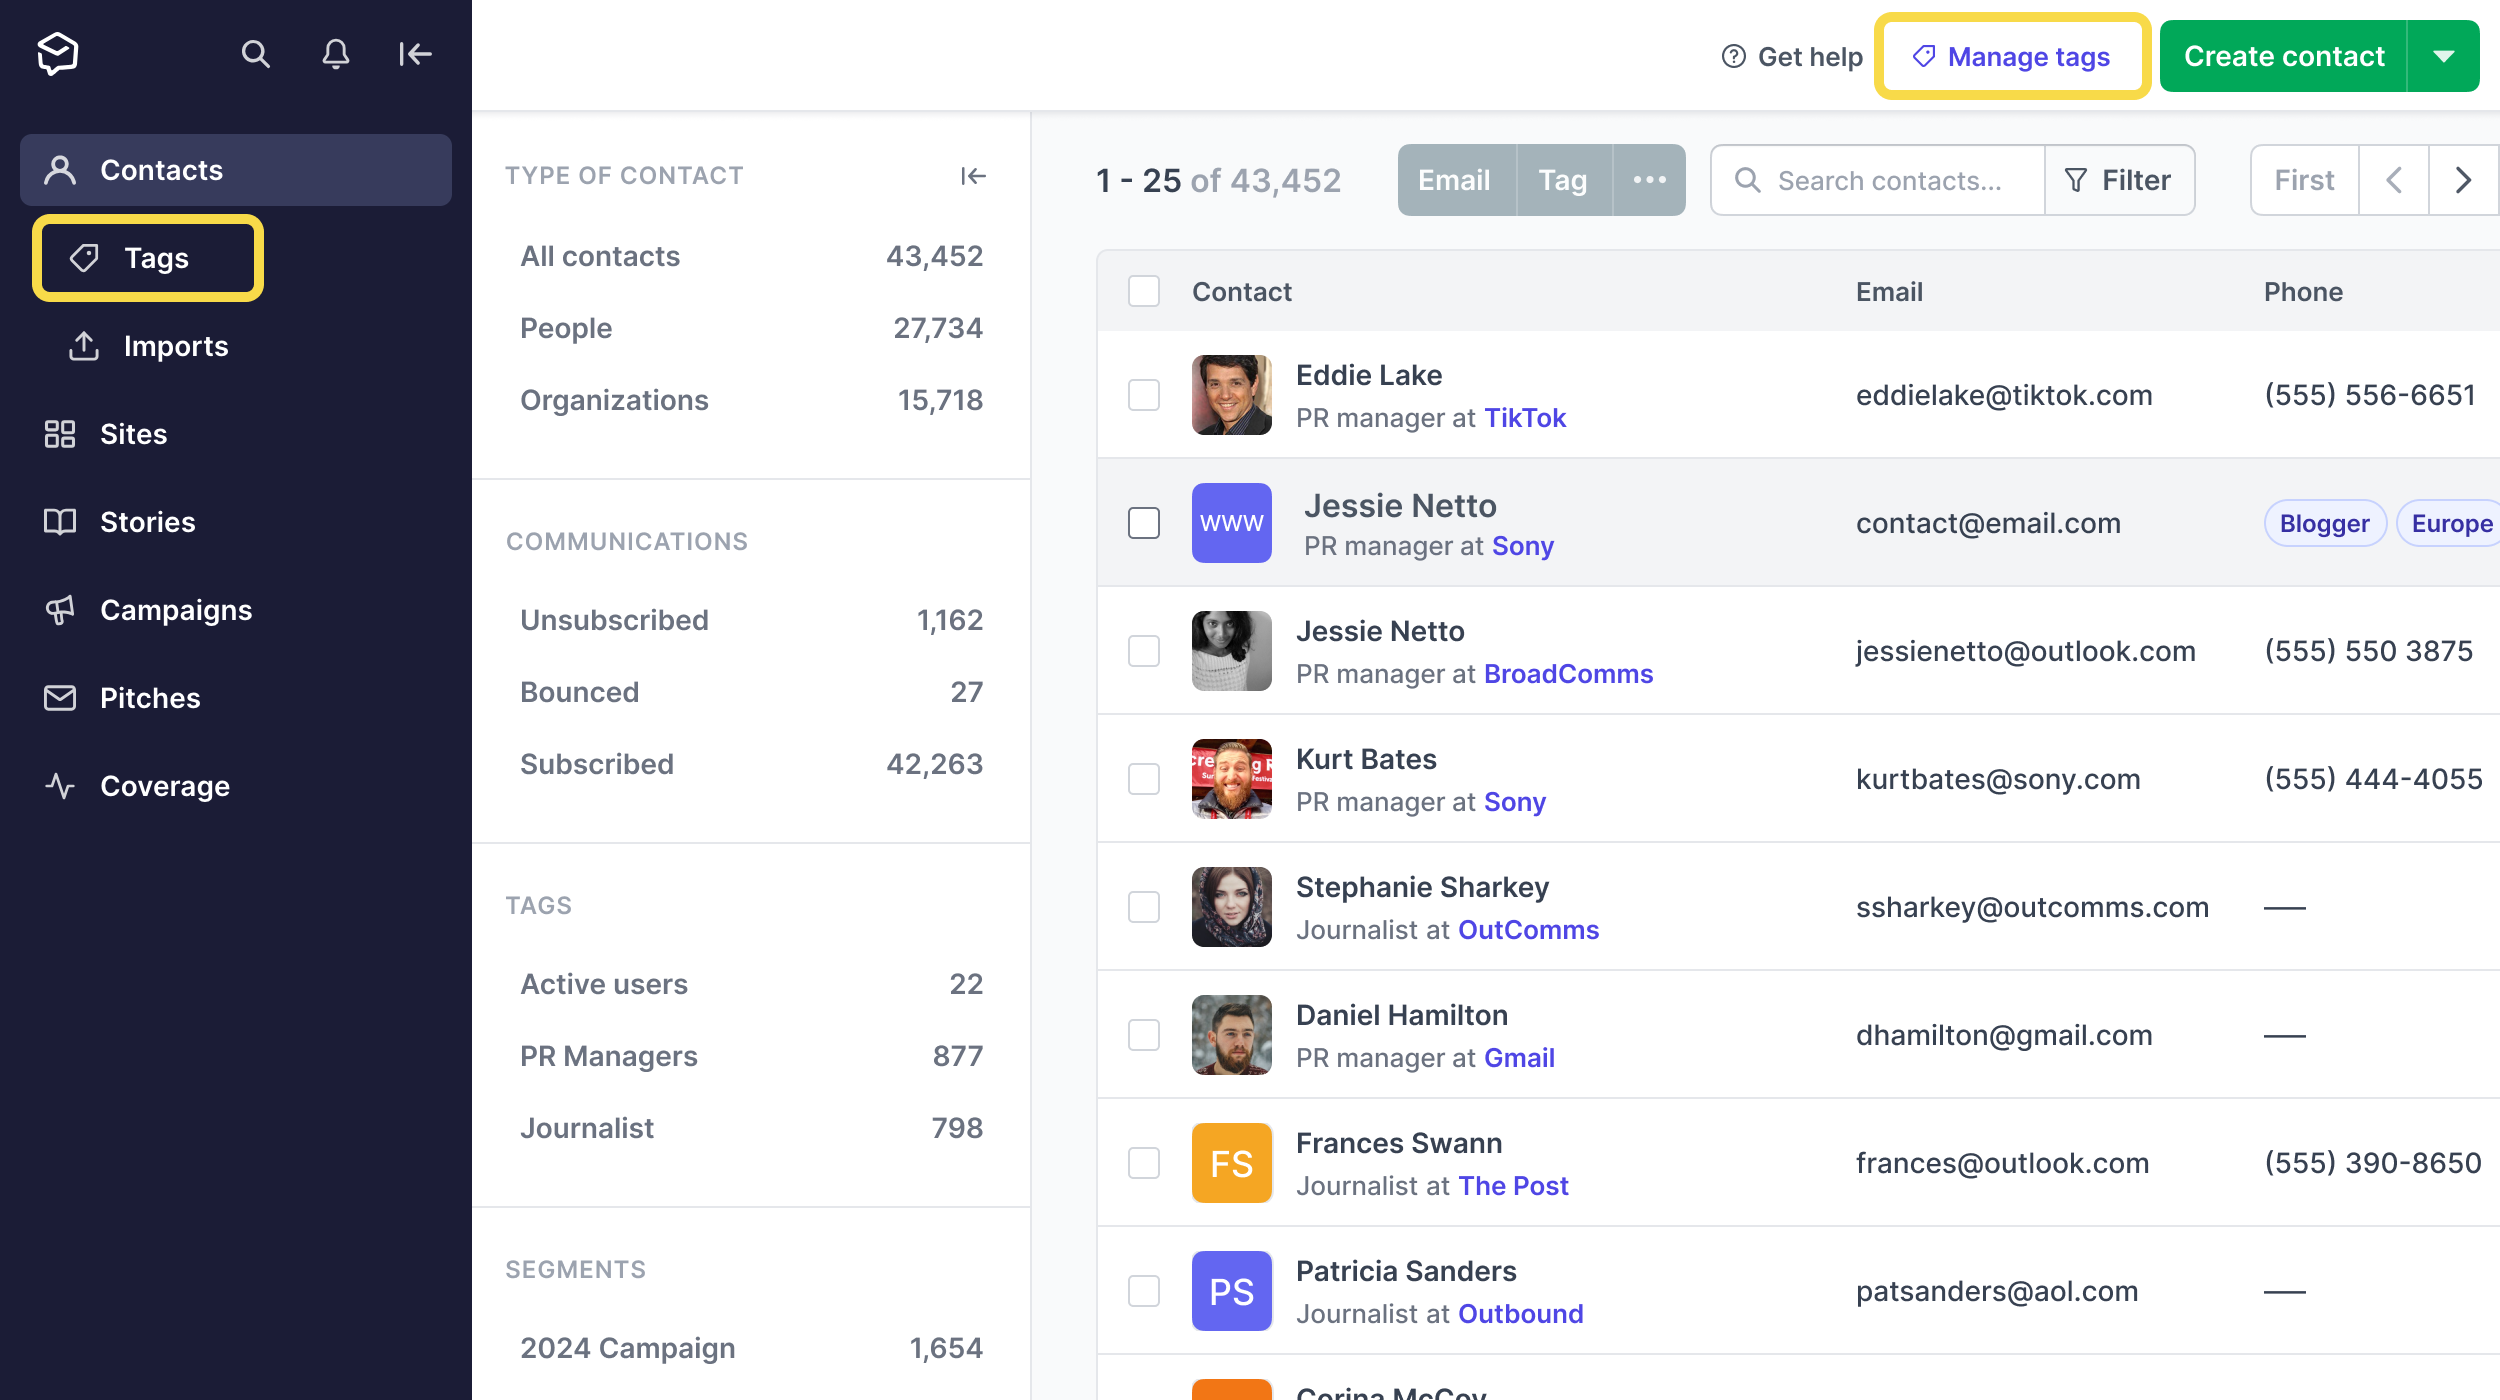
You can view all the Tags you have in your contacts database by going to the Contacts area of your account using the left navigation bar, and from there choosing Tags from the same sidebar:
You can create Tags when you import your contacts by adding a "tags" column to the spreadsheet you import.
You can also add create tags by clicking on Contacts in your left sidebar, and selecting the Tags item that appears below Contacts in your sidebar. To create a new tag, click the green Create tag button in the top-right corner.
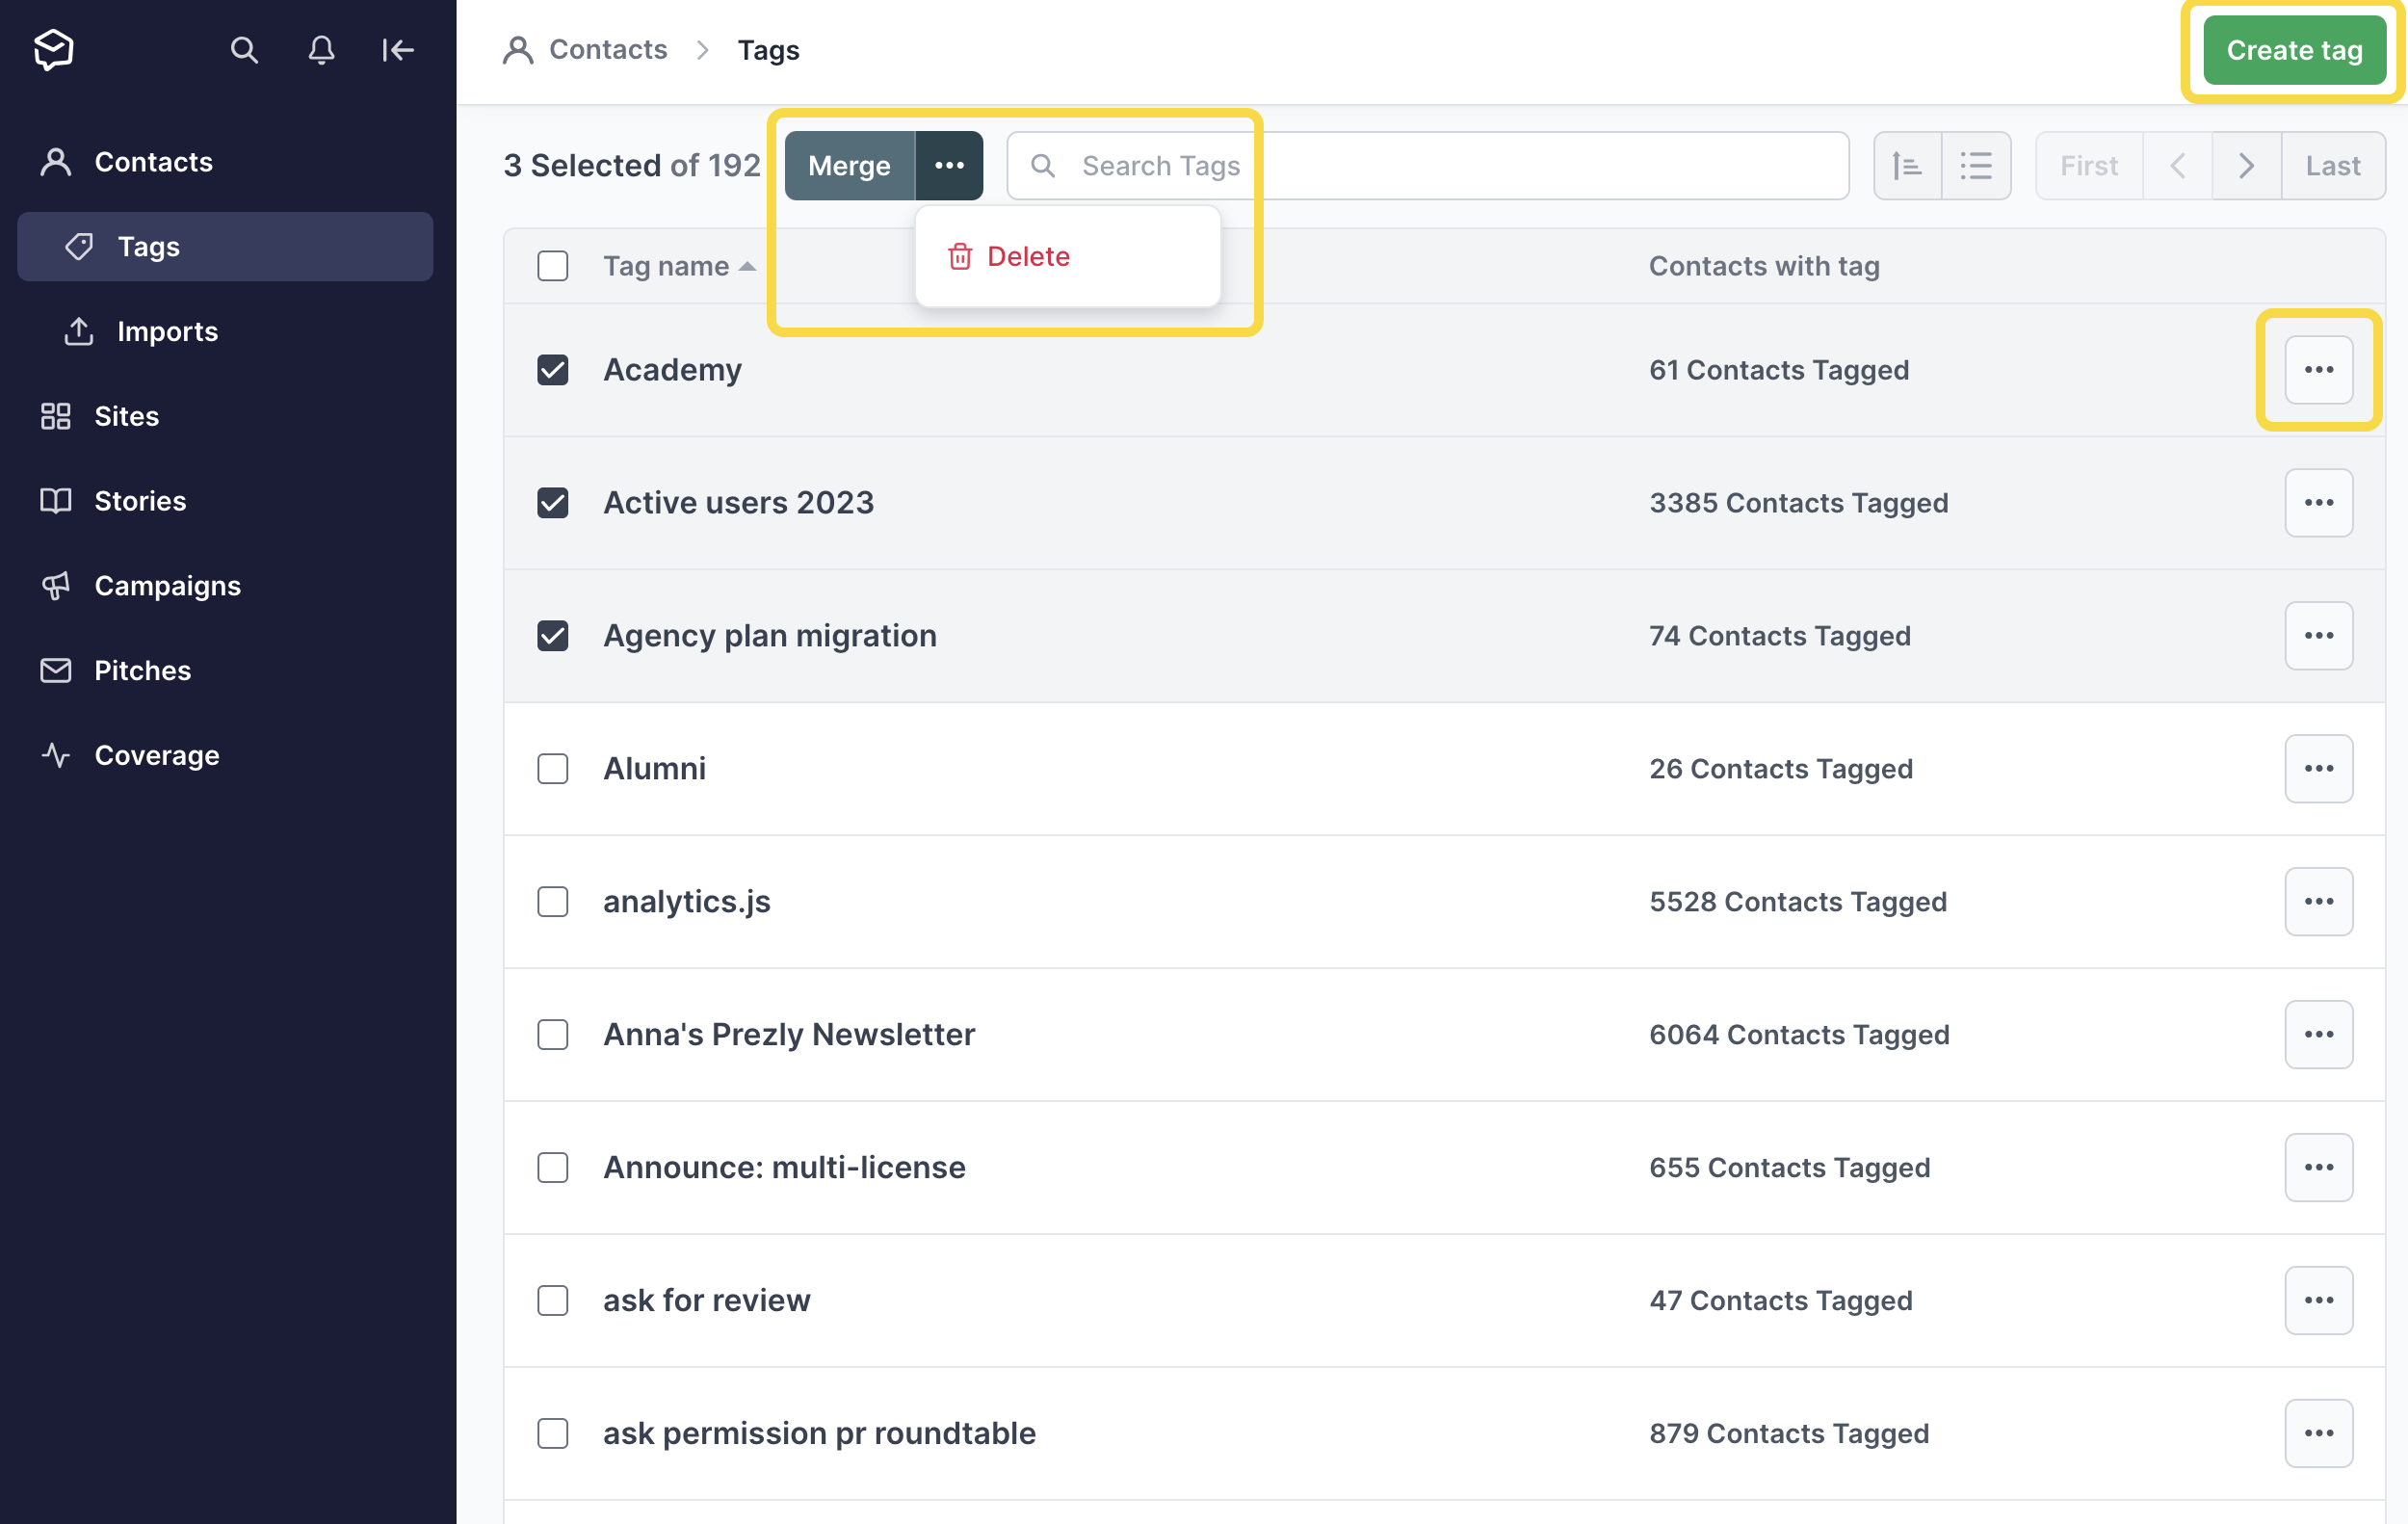
You can rename individual tags by clicking on the ··· button to the right of the tag you want to edit (see the screenshot above).
Checking the tick box next to each tag and selecting multiple entries will enable a pop-up menu at the bottom of the screen to appear, where you can:
- Merge - You will be given the option to create and define a new name in place of the merged tags.
- Delete - You will be given the option to delete the tags you want removed.
Please read on for more important reminders when Deleting a tag from your Account.
Simply search for contacts using the filter on the Contacts page, and check the "Select all" checkbox at the top of the Contacts table.
A pop-up menu will appear at the bottom of the screen. Clicking on the Tag button will redirect you to a new menu where you can search for and add tags to all your selected contacts. You can create a new tag or use an existing tag from your database.

You can also add Tags to multiple contacts at once when importing contacts.
On the Contacts page, you can add Tags to a single contact by selecting the checkbox next to a contact's name, and then clicking on "Tag." This will open a full list of all your Tags, where you can select more than one and then click on "Apply Tag."
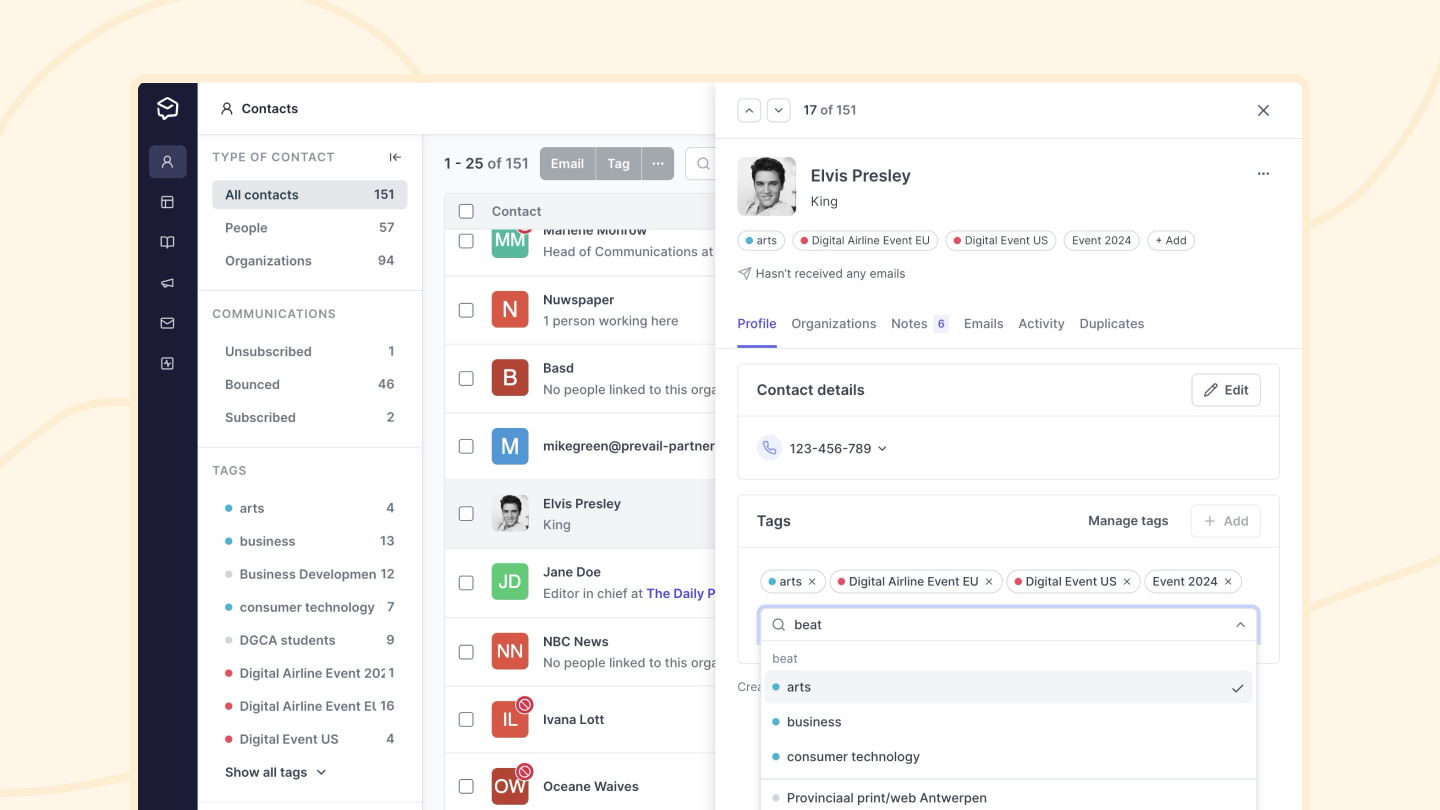
When you click on a contact, their contact preview will appear on the right side, where you can apply a new or existing tag to the contact.
How to un-tag your contacts.
You can add or remove tags from multiple people when viewing your contact grid. To do this, select the contacts you want to add tags to or remove tags from by checking the box next to their names.
A pop-up menu will appear at the bottom of the screen where you can click on Remove tags.
This will open an overlay where you can choose which tags to remove from your selected contacts.
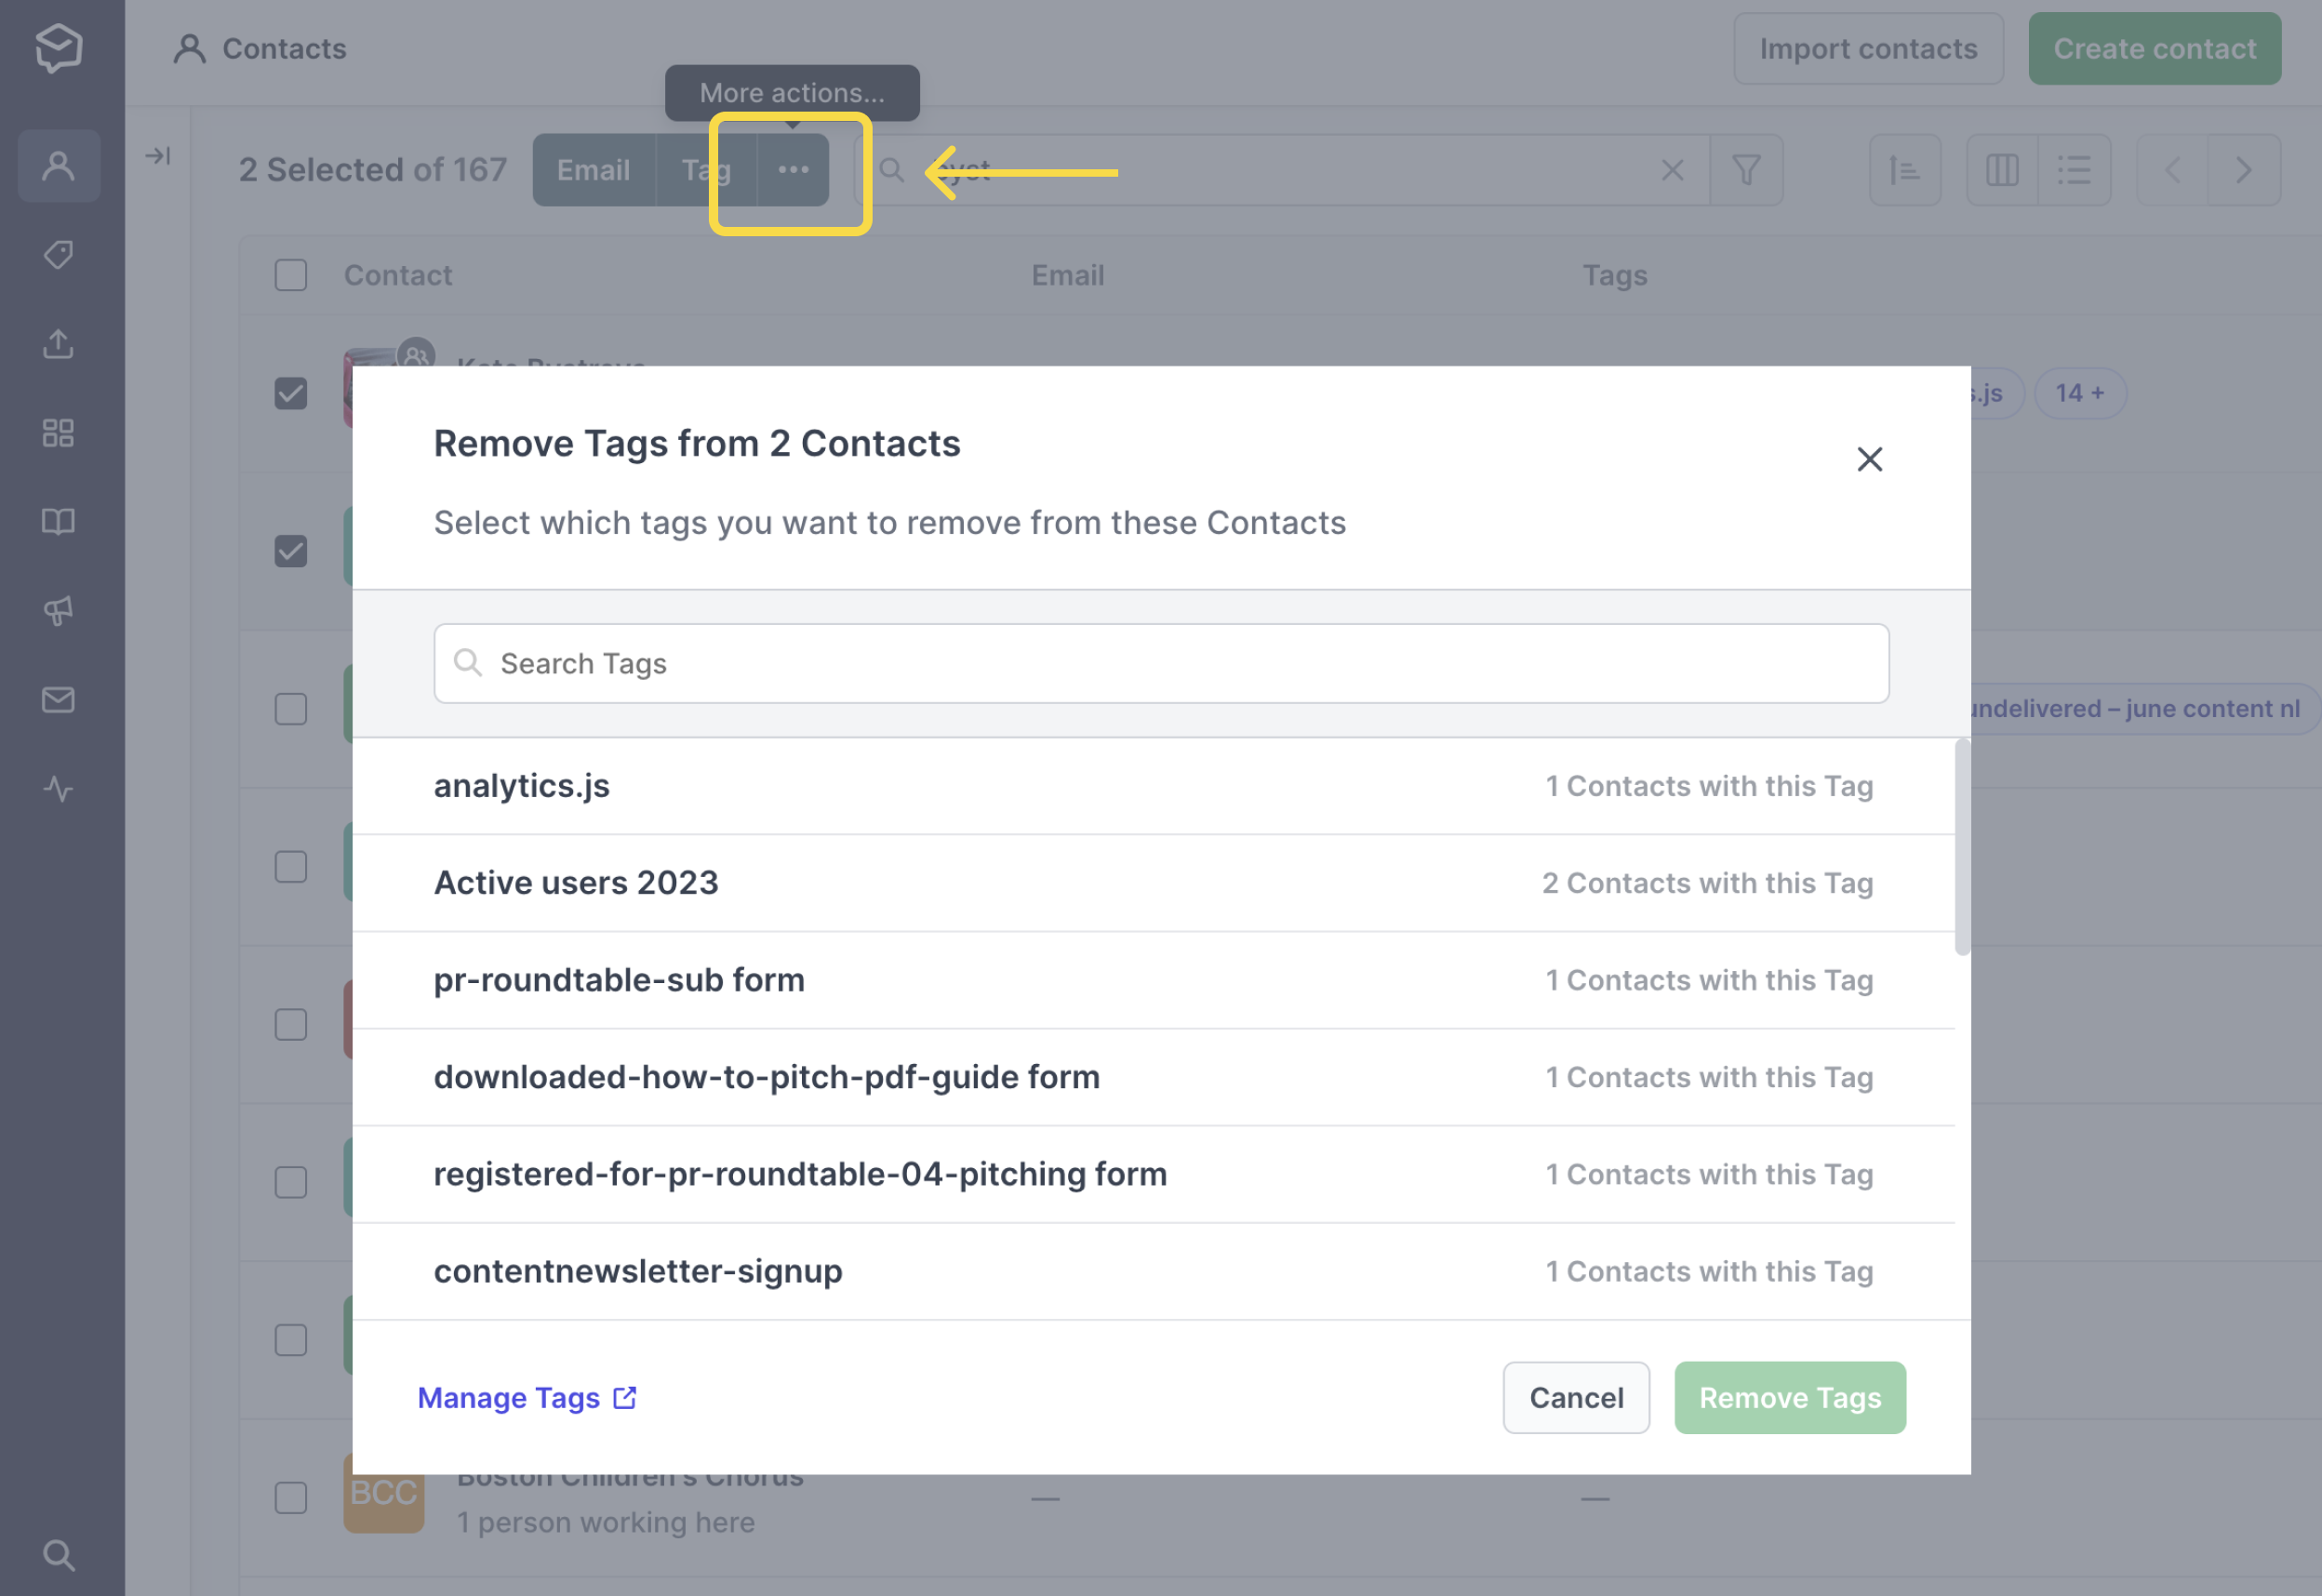
You can select contacts while using a filter or viewing a segment.
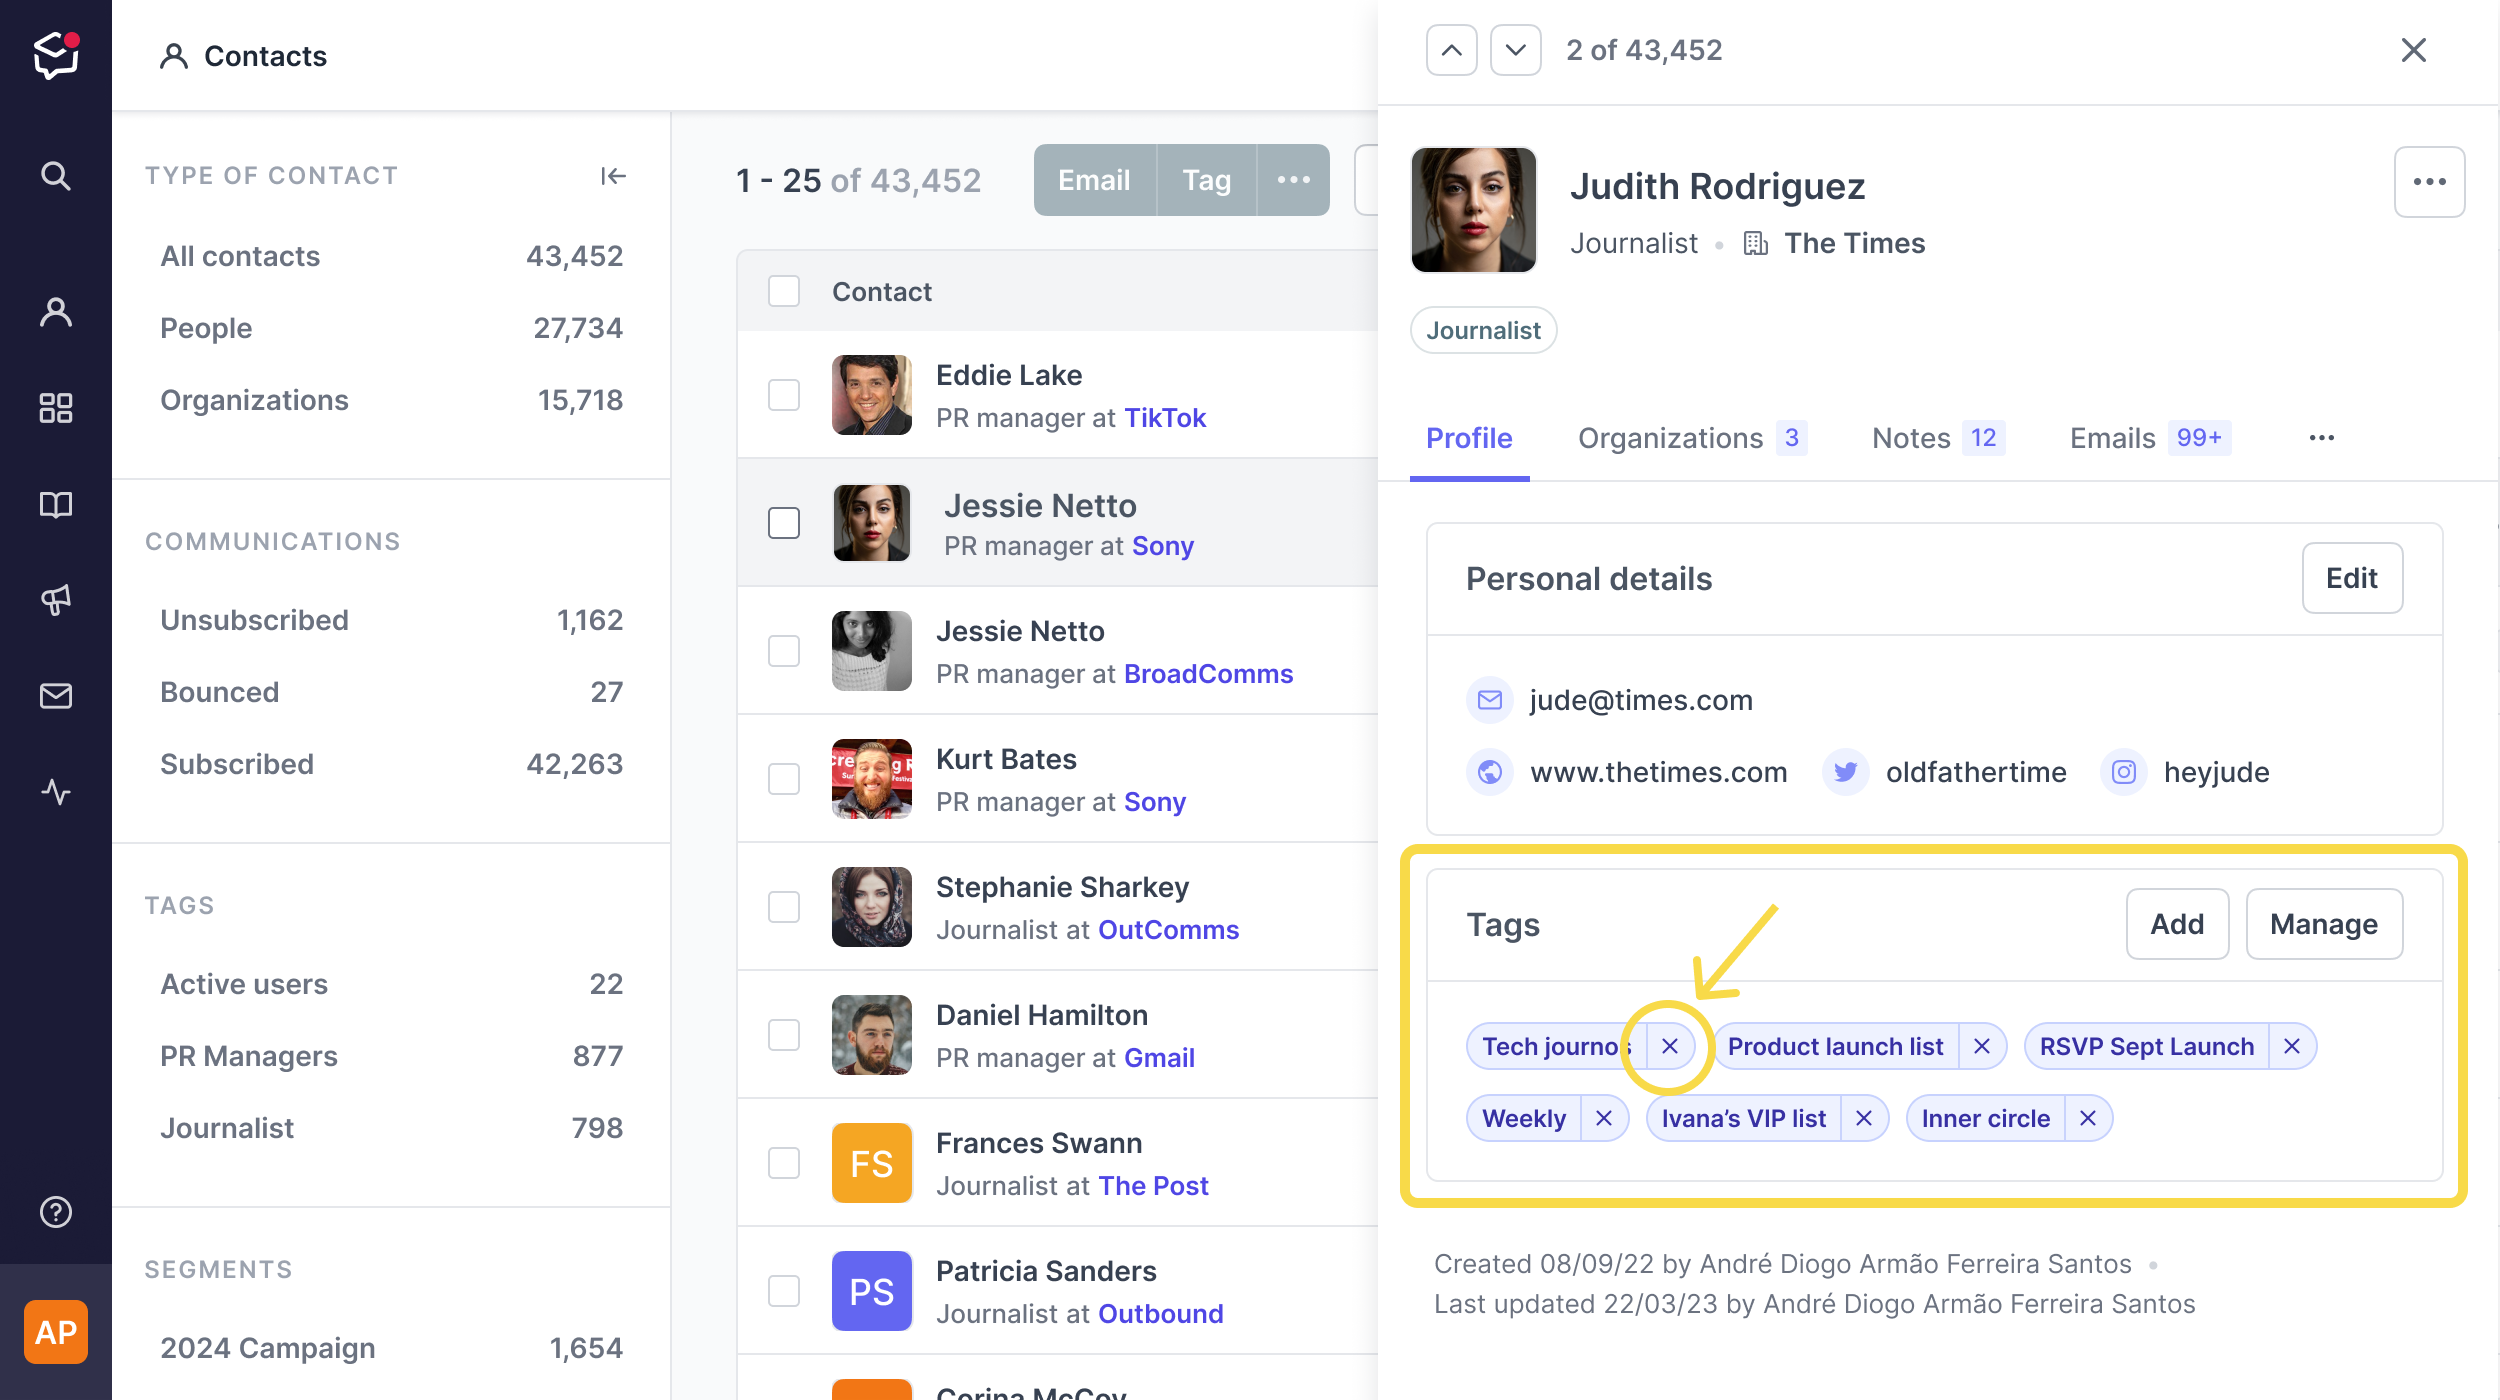
You can also remove tags while viewing individual contacts. To do this, click on the contact from which you want to remove the tag. A side-panel with the information for that contact will appear.
Scroll down the Profile tab in the contact side-panel until you see the Tags section. Here, click the little x next to a tag to remove it, or select Manage to manage all of the tags in your account. Learn more about managing tags →
You can also click Add to link additional tags to your selected contact.
You can also remove a tag permanently from your database.
Note: when you delete a tag, it will disappear from your Prezly account and from the profiles of any contacts tagged with that tag. The contacts themselves will remain otherwise unaffected in your Prezly contacts list.
To delete a tag, go to your Manage tags page, which you can access by clicking Contacts and then Tags in the left sidebar.
Once there, click the ··· button to the right of the individual tag you want to delete.
To delete multiple tags, use the checkboxes to the left of the tag names to select the tags you want to delete. This will enable a pop-up menu at the bottom of the screen to appear. From there, click on Delete.
You will be asked to confirm the change before the tags are deleted from your database.
Tag groups help you organize tags into clearly findable groups, while retaining the flexibility of general ad-hoc tags.
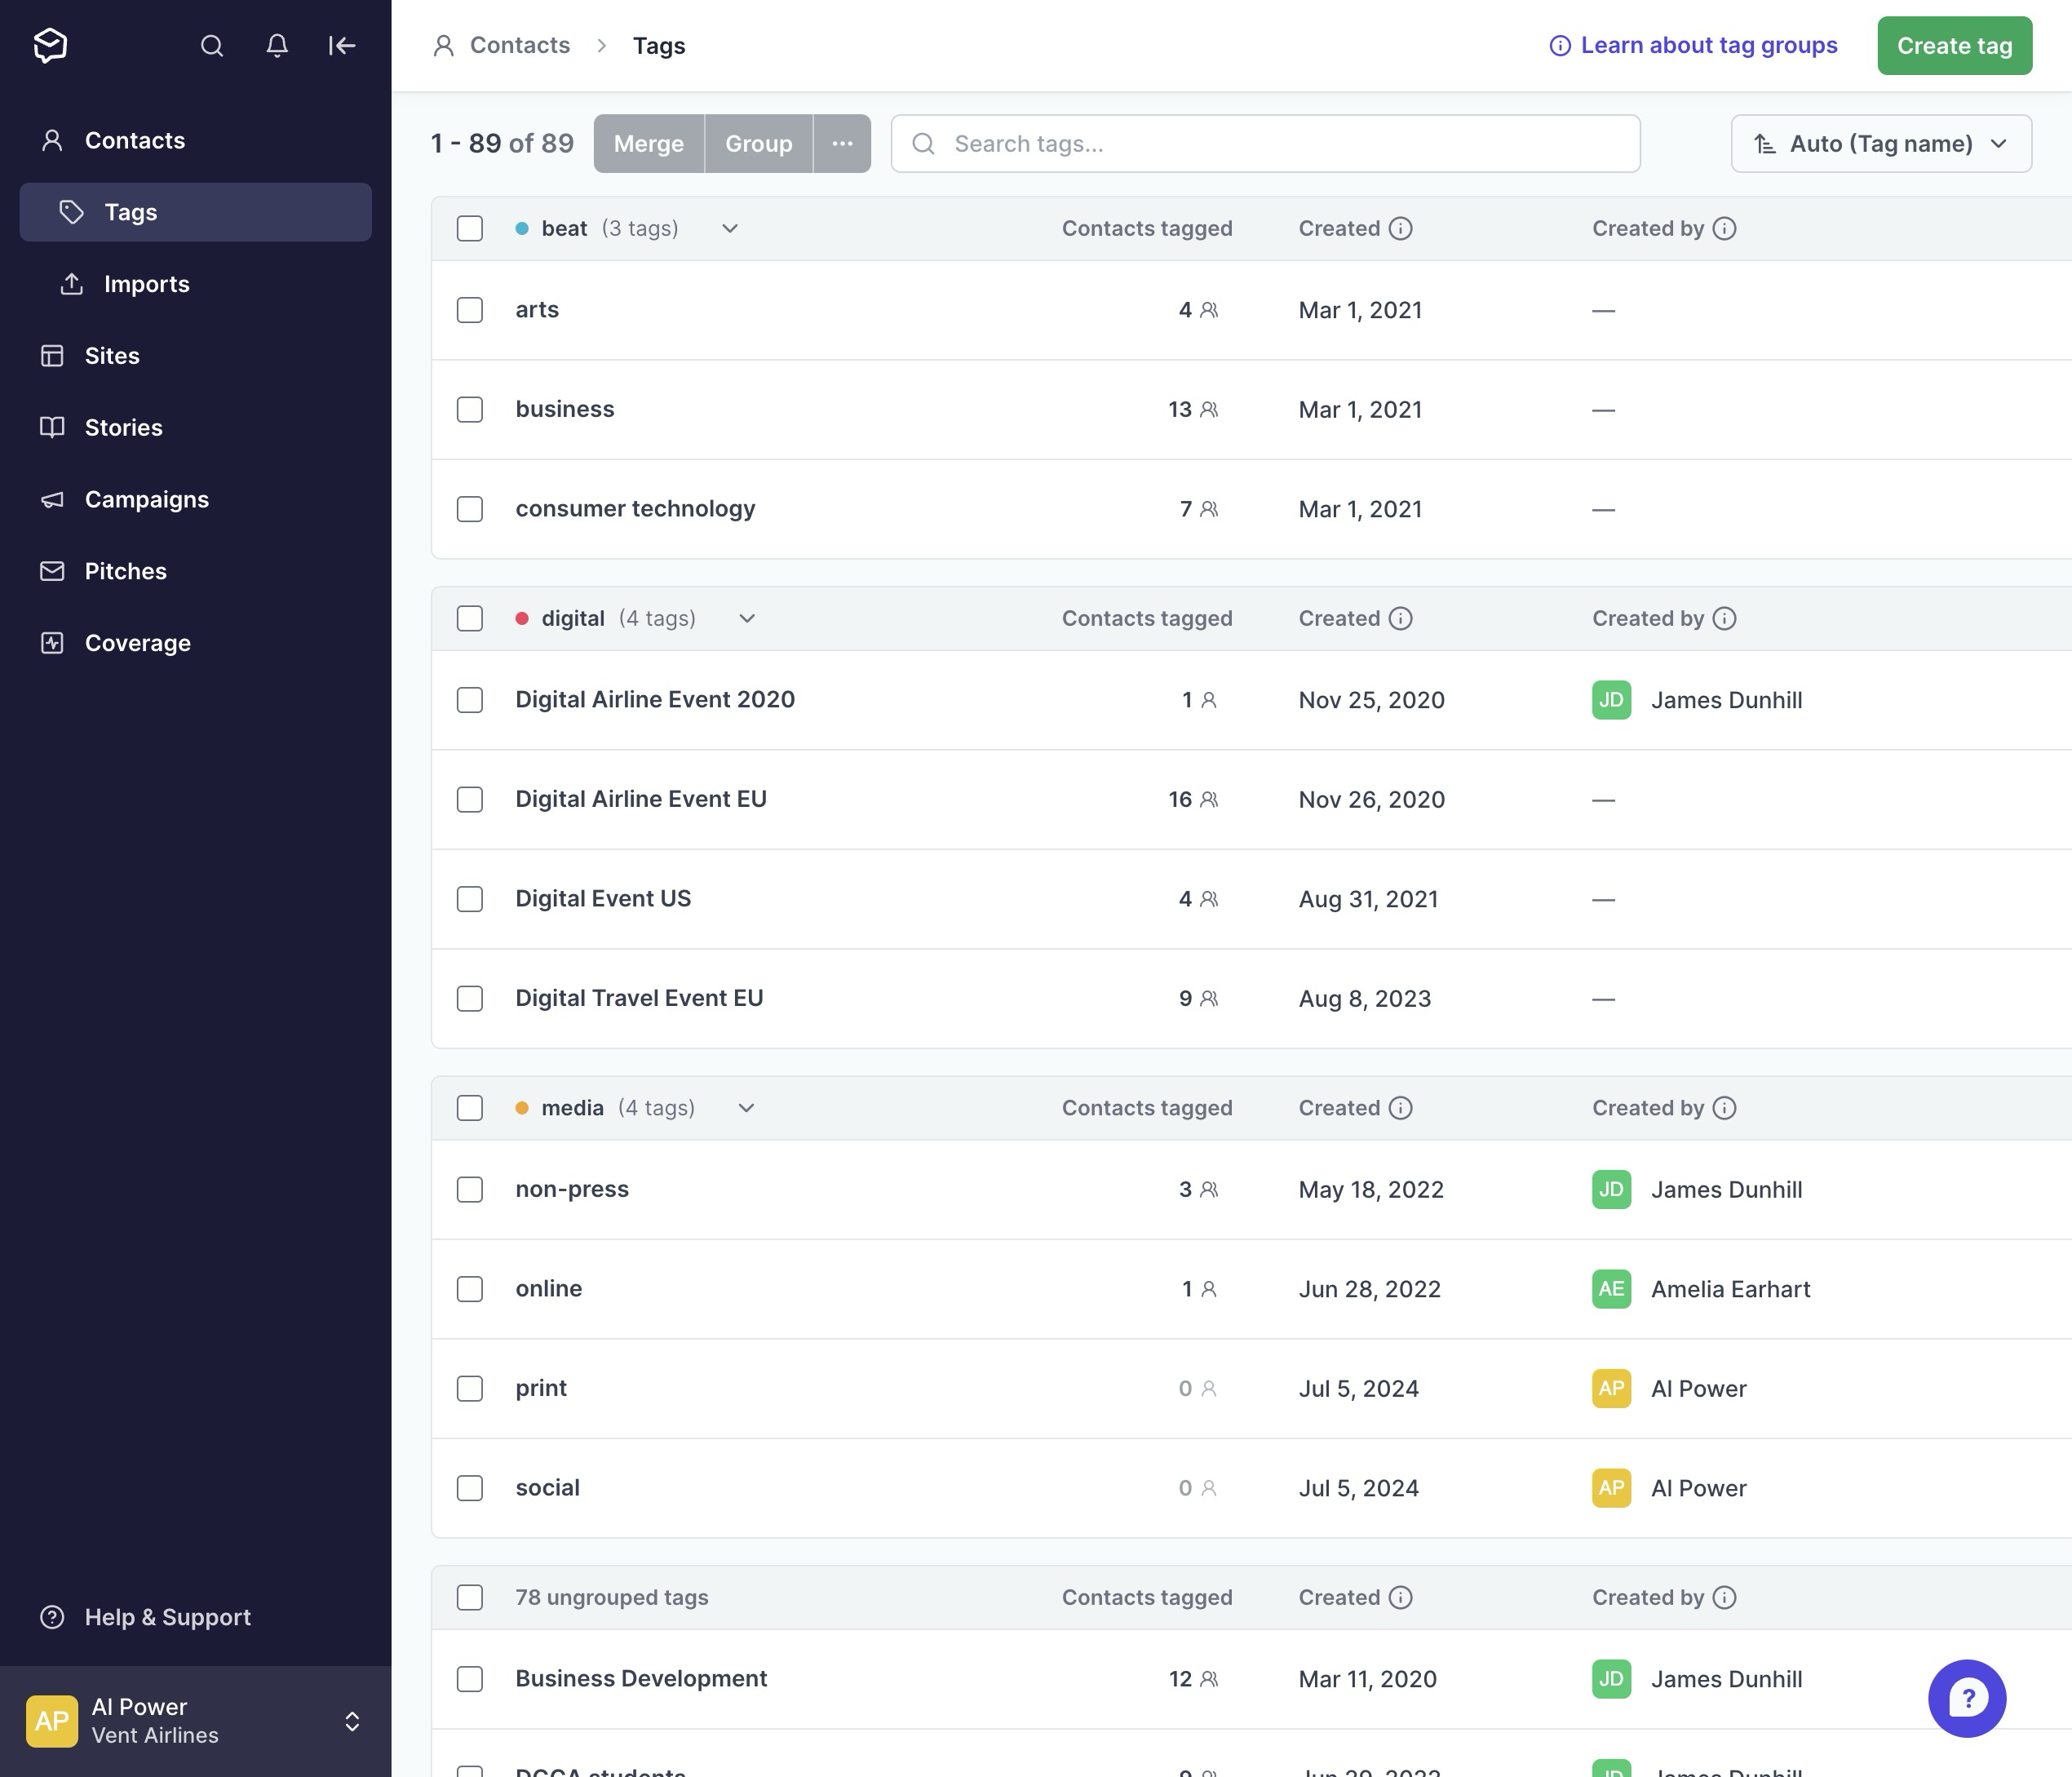
Grouped tags appear first in the tag picker on contact profiles.
Tags in contact grids are marked with the color of their group. Ungrouped tags have a grey color next to them, and grouped tags are colored, with group names showing on hover.
You can restrict who can create tags (useful for teams who have a pre-defined tag structure).
Go into Settings > Manage team and uncheck the 'Import contacts and manage tags' permission from those users who you don't want to be able to create new tags (either via importing contacts or editing contacts).
Please note: Users without this permission will no longer be able to manage or create new tags or perform imports, but will be able to select and add existing tags to contacts.
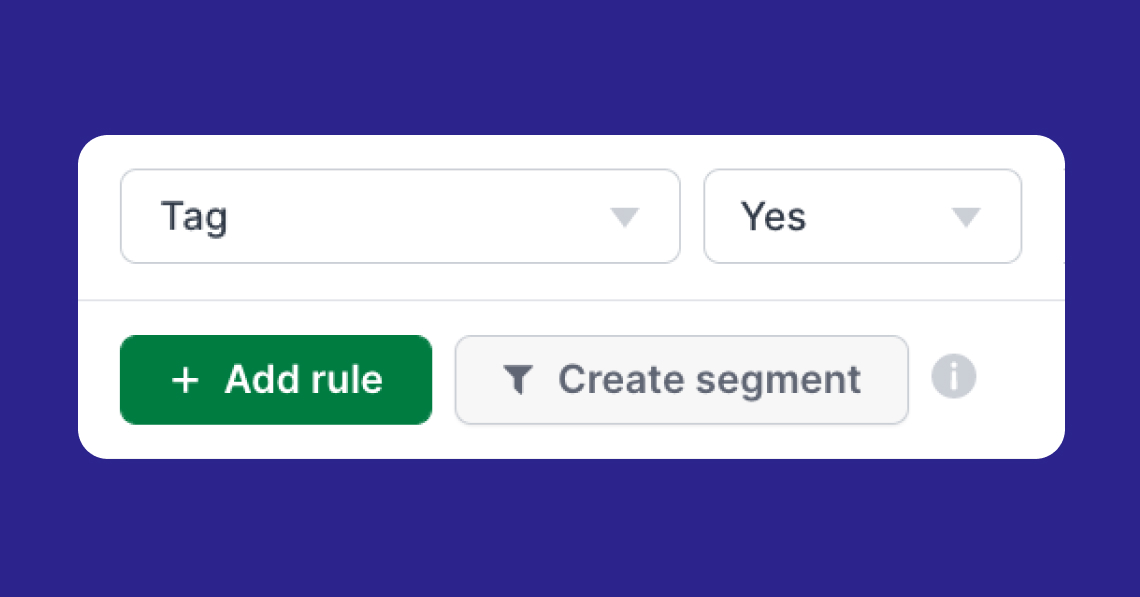
💡Pro Tip: Save a combination of Tags or filter rules as Segments