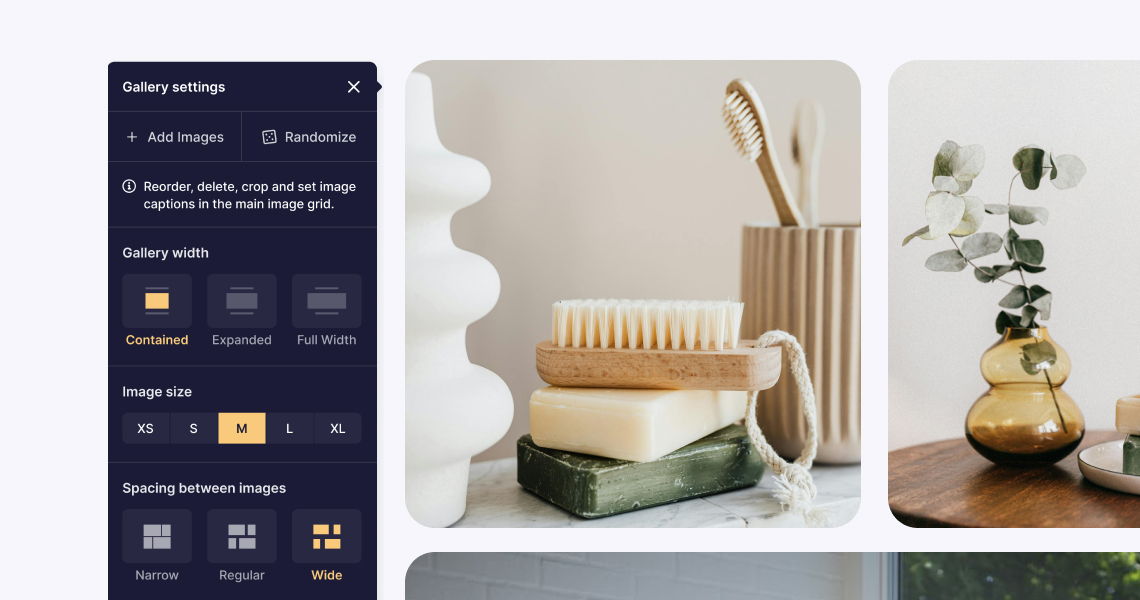
How to create a story
Make your newsletters, blogs, press releases or company updates even better with multimedia embeds
Say goodbye to boring Word documents and plain email, because Prezly's Story Editor gives you all the tools you need to create stories that will drive more coverage and traffic to your site(s)!
When adding in-line multimedia, you can choose from a selection of embeds, such as images, videos, social posts, attachments, and more.
Once you're in the Stories page, click on Create Story and this will bring you straight to the Story Editor.

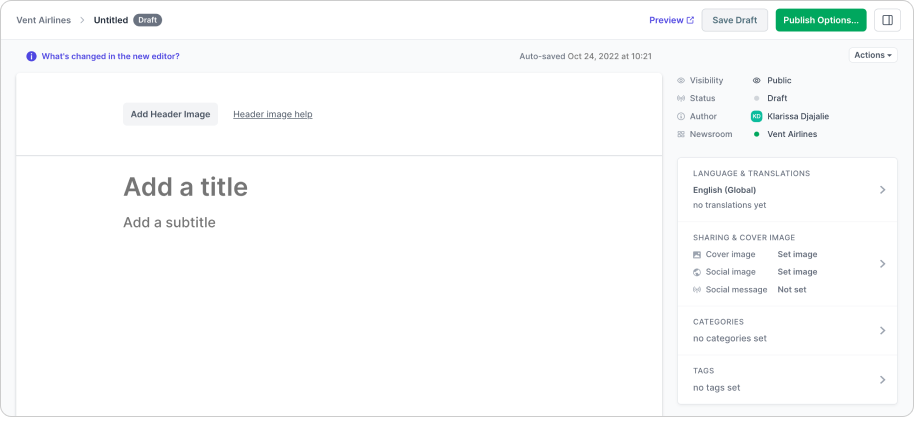
Here you will find the different sections that make up a story, such as where to place a header image, title, subtitle, and where to add text and multimedia. You are also able to set the story's visibility, language, sharing and cover image, and categories (available on the Premium plan) on the right sidebar.
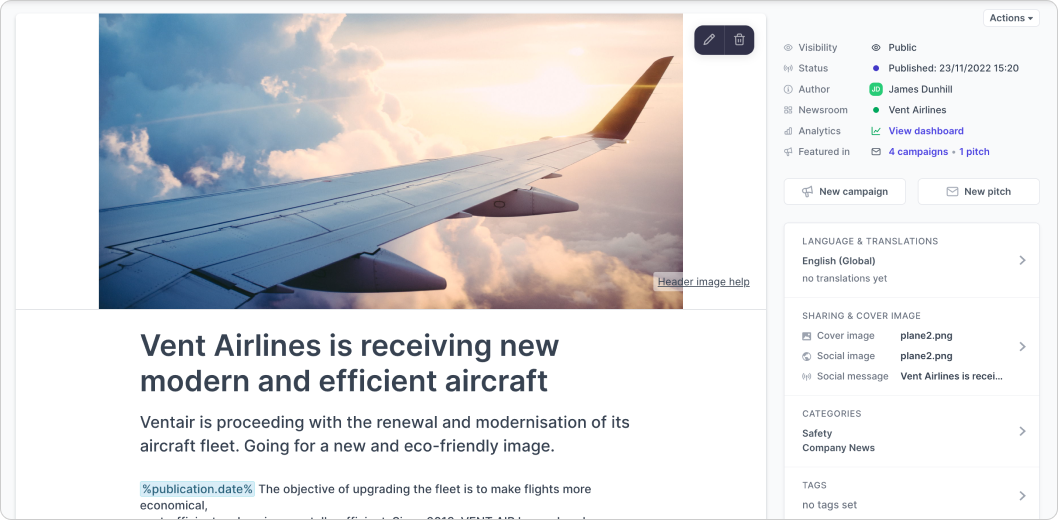
Header images are often the first thing visitors notice after clicking to open a story. I's a great way to convey what you want your audience to know about your story before they start reading it.
Titles & subtitles
A story can't be published unless it has a title, but adding a subtitle is optional. However, we recommend always adding a subtitle to your stories, as you have the option to display the subtitle in your site's homepage once it is published.
Text formatting
Whenever you highlight some text, an editing menu will pop up right above the selection. We currently offer basic formatting options for text and quotes, such as text alignment, Bold, Italics, Underline, Subscript, Superscript, adding links to text, and more.
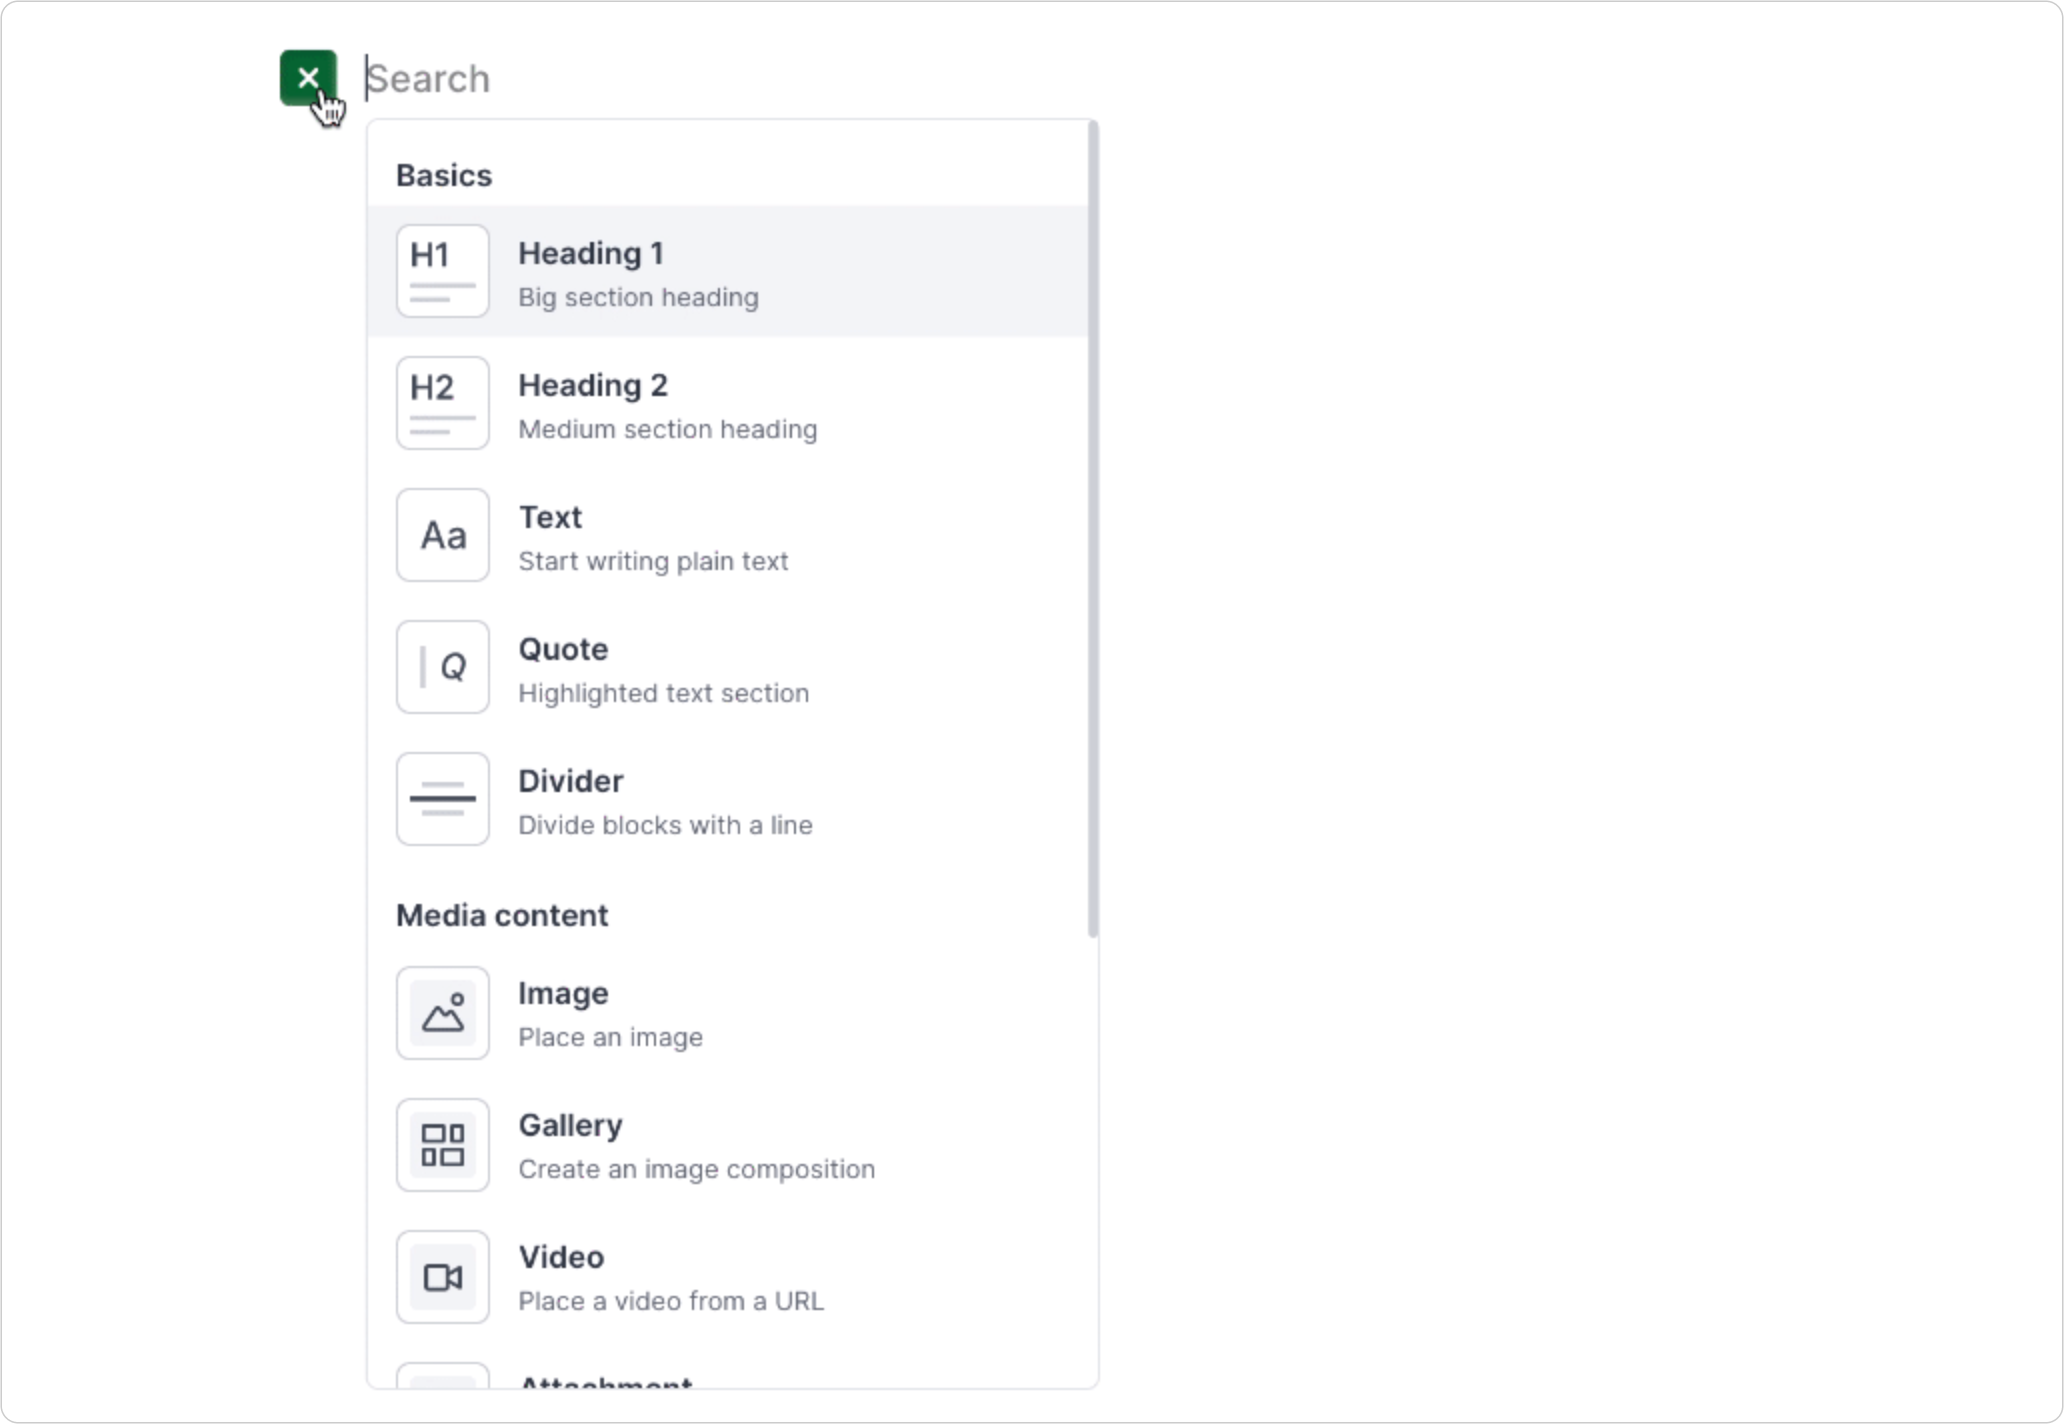
Clicking on the green + button will show you the different media types you can add to your Story.
Image embeds can also be aligned to the left, center or right.
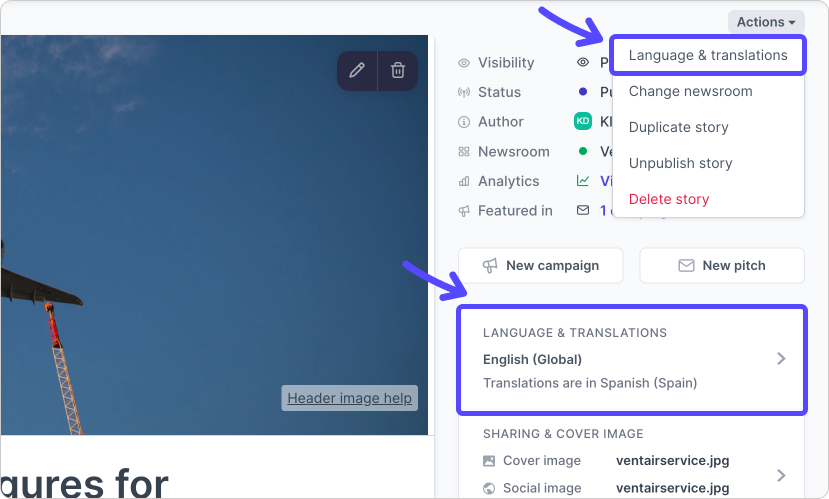
To set the language of a story, you first need to make sure you've enabled the language in your site's settings. Please refer to this article for how to add languages to your site.
Once added, you can access the language(s) in the right sidebar of the story editor.
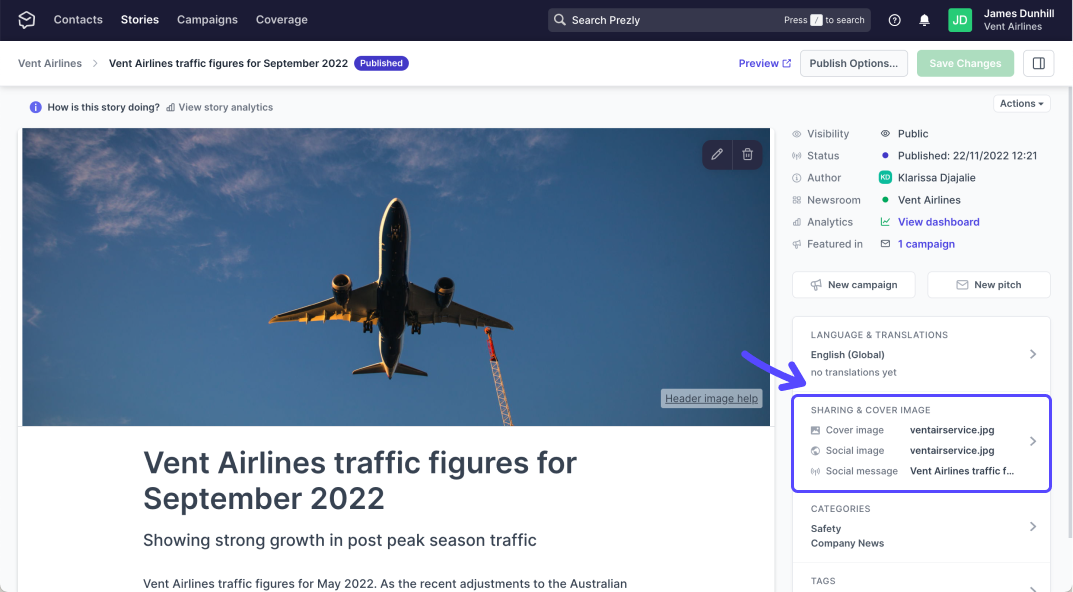
This Cover image will be displayed once your story is published and visible on your site's homepage.
.png)
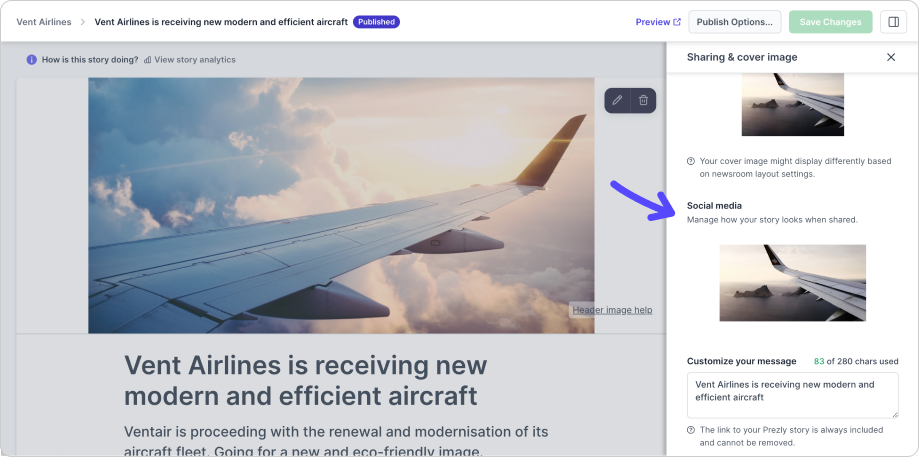
The Sharing & Cover image section is also where you can upload an image for when your story is shared on social media. Learn more about sharing stories on social media.
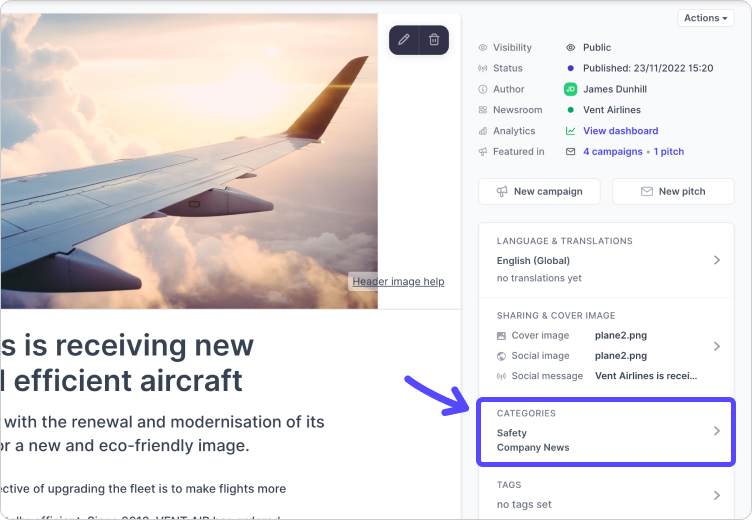
Similar to adding languages, you will first need to add the category in your site's settings. See how to categorize stories.
.png)
Once you're ready to share your story with the world, Prezly provides different publish options for you to choose. Simply click on the green Publish Options button on the top right corner and then select the visibility of your story.
Learn about the different Publish options for your stories.
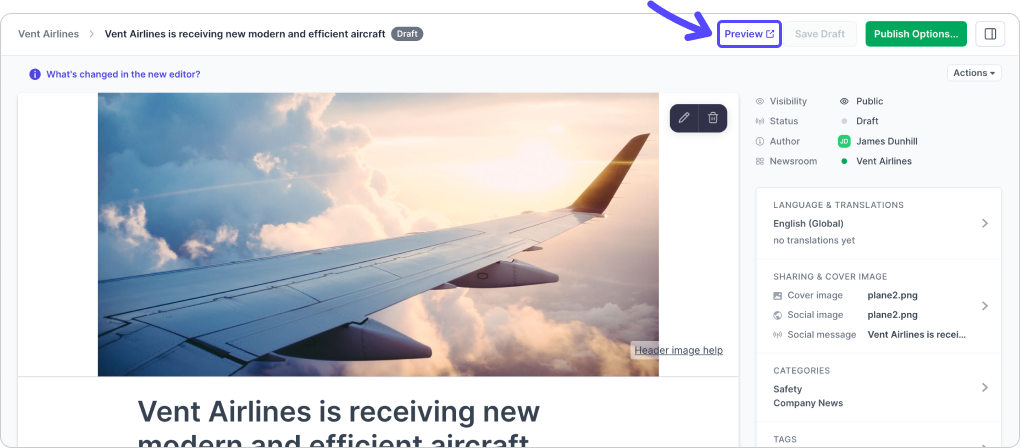
While working on your story you can click on Preview any time to see how it will look when it's published.
.png)
![[browser] [browser]](https://cdn.uc.assets.prezly.com/4c40c374-8b83-424a-ac6a-e2e6eb3ee10e/-/format/auto/visibility%20(1).png)
