Setting up a custom domain
See how to use your own domain for your Prezly site, e.g. sitename.yourbrand.com
By default, your sites are on the prezly.com domain (e.g., yourbrand.prezly.com). You can easily replace this with a custom link on a domain that you own (e.g., sitename.yourbrand.com).
Having your site on your own domain looks more professional and passes on SEO value to your website. To set up your custom domain, you just need a little help from your IT partner. Here are the steps to take:
Go to the Domain settings page via your site's dashboard. On the Domain page, select "Add custom domain".
Finally, type in your desired URL and hit "Add custom domain" one last time.
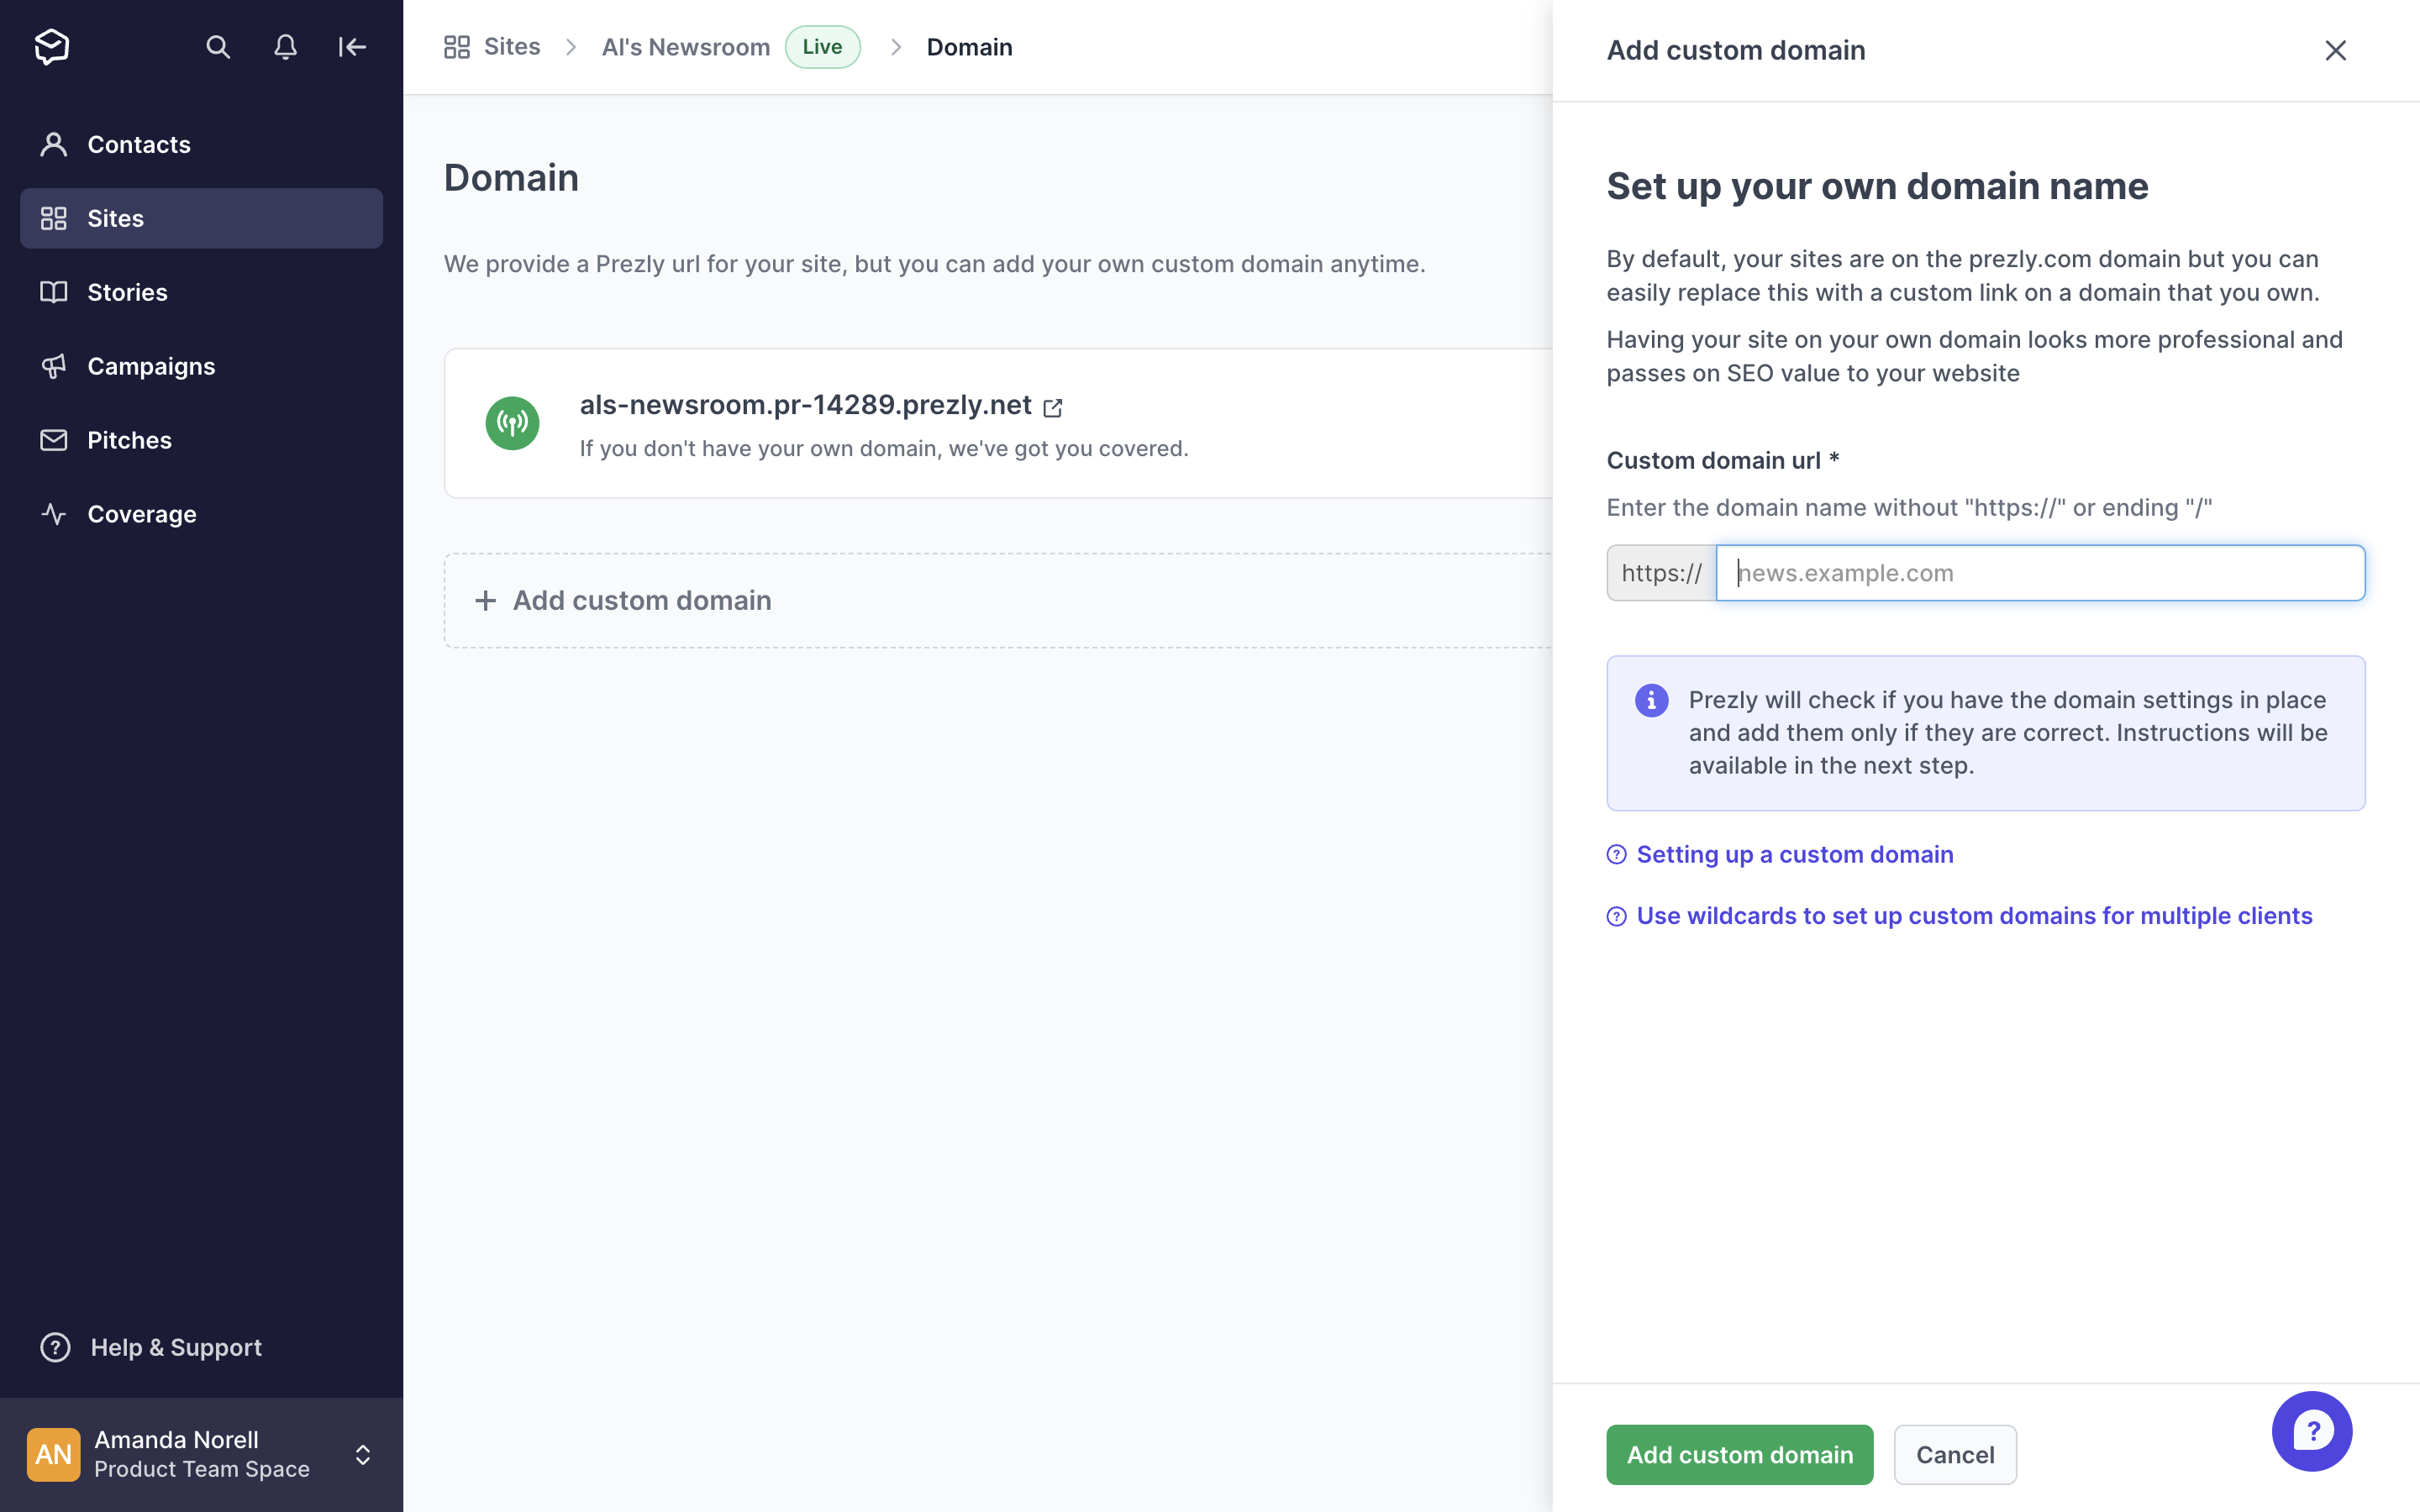
⚠️ Warning: You should always use a subdomain. Root domains or paths/subdirectories are NOT SUPPORTED.
Prezly will check if you have the proper domain settings and add them only if they are correct.
Please take note of the unique CNAME value generated for your site. You will need it later!
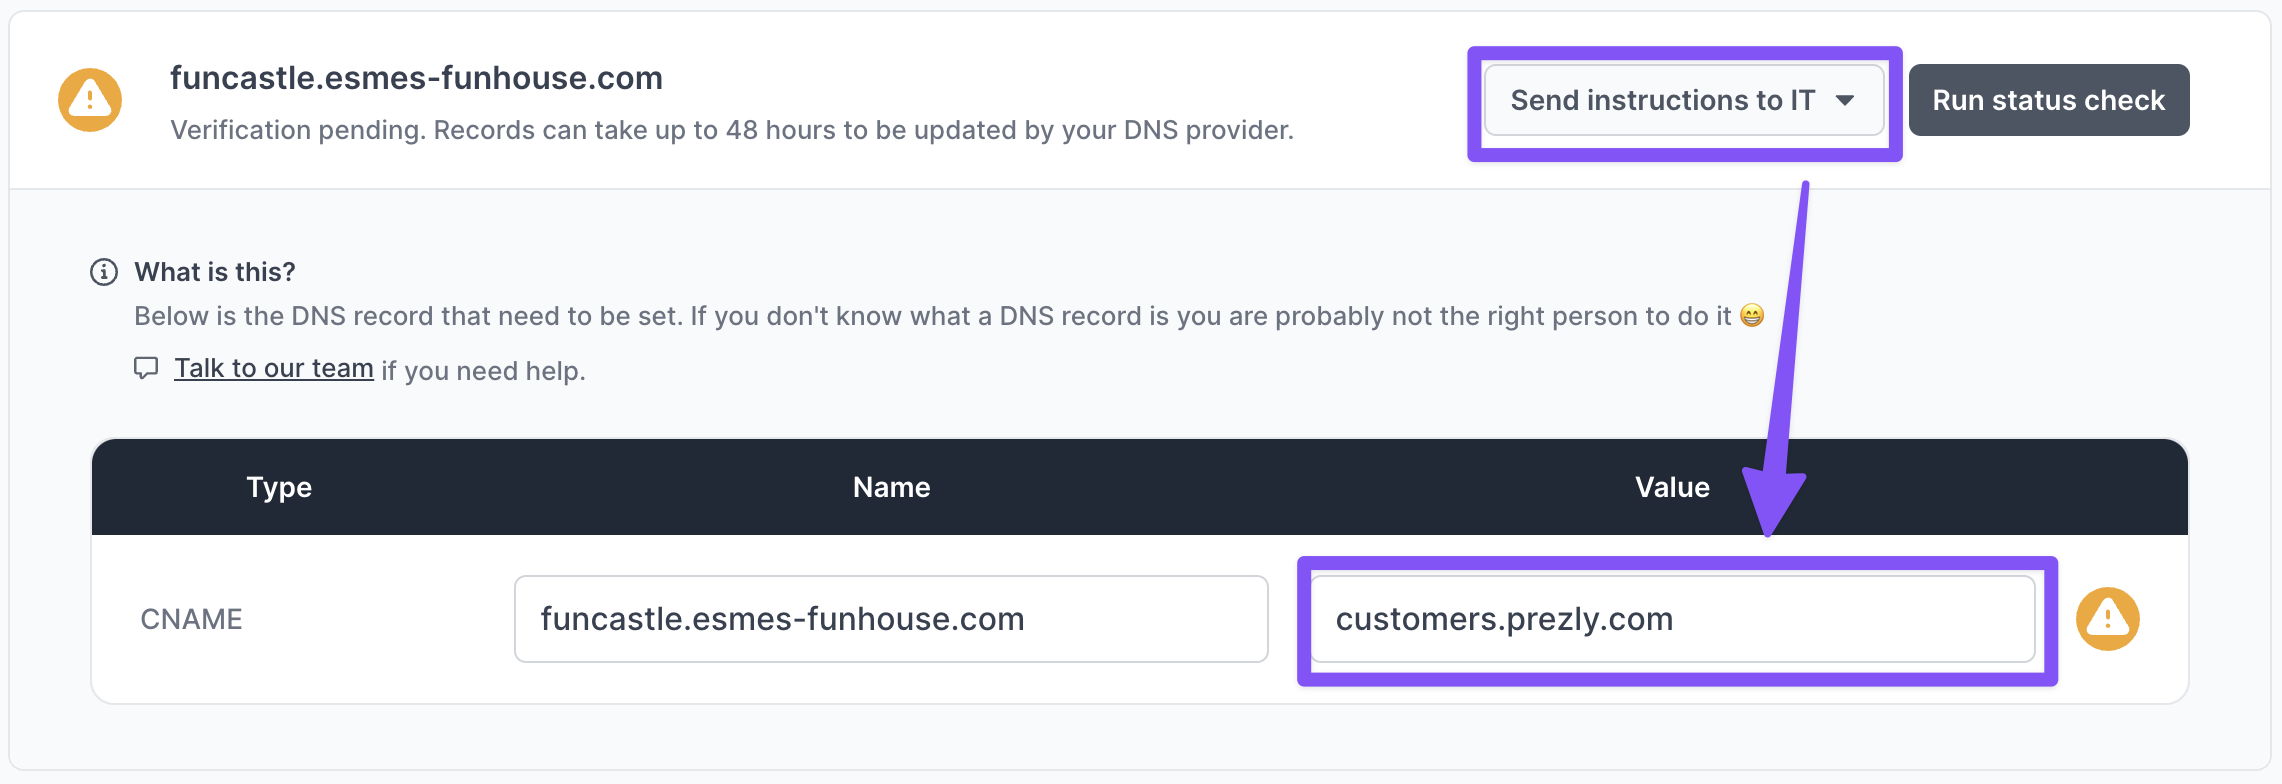
The handy "Send instructions to IT" button generates a temporary page and/or allows you to send an email with all the necessary info for your IT team or service provider to take care of the domain set up on your end.
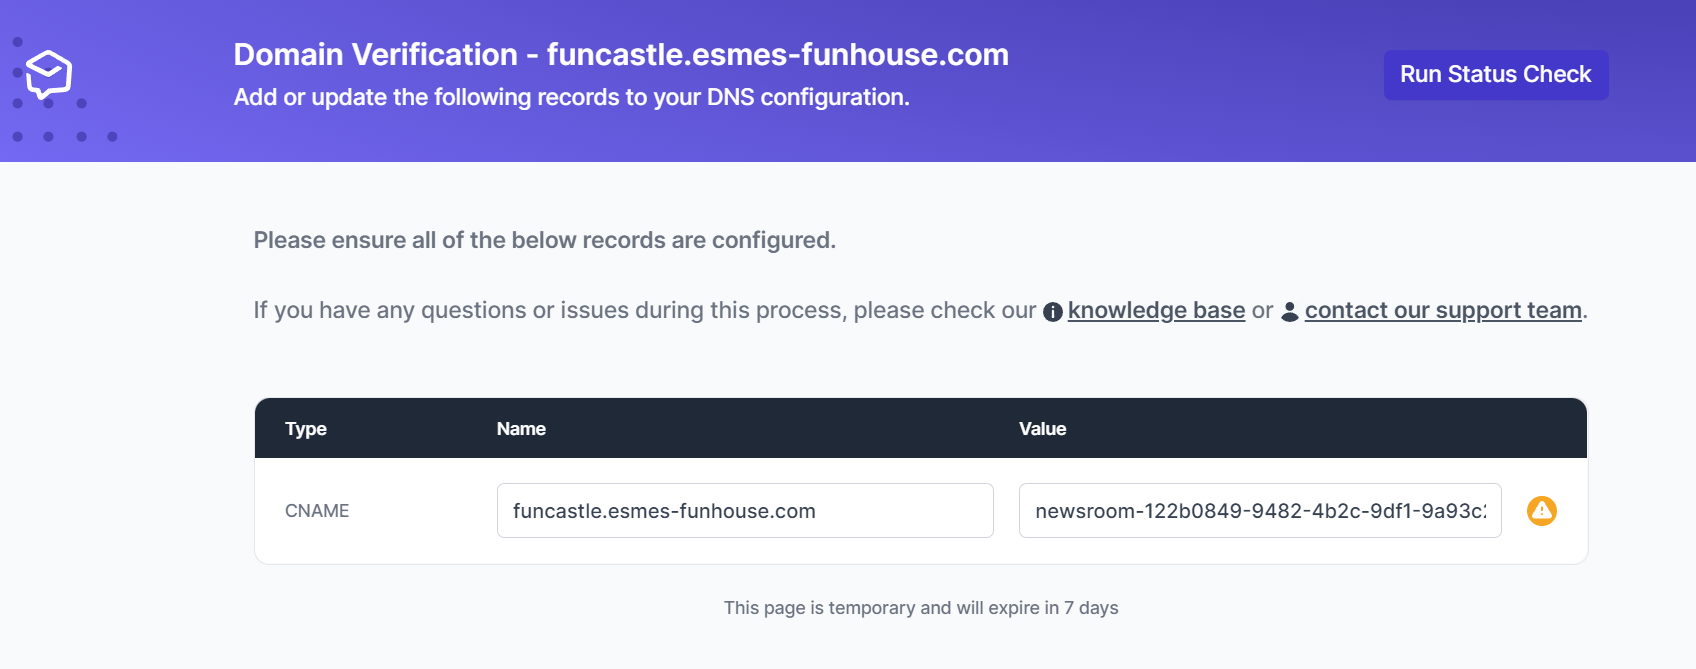
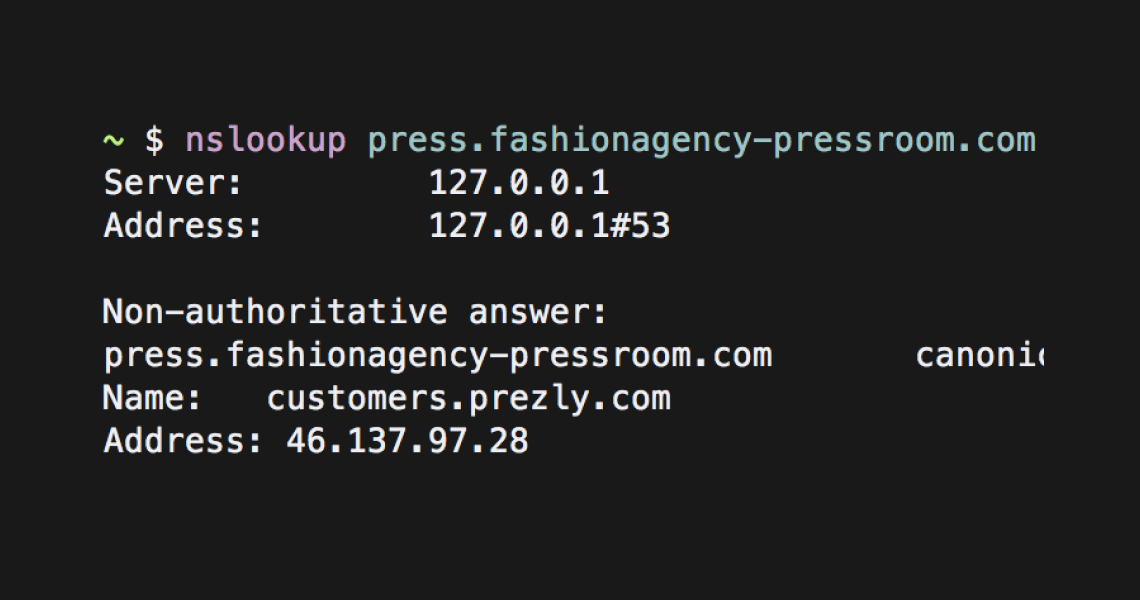
Create a CNAME record (DNS setup) in your domain settings and point it to the URL you obtained during the custom domain setup on Prezly.
Don't worry if you don't understand what this means. Simply forward this article to your IT team, and they can help you out.
⚠️ Note: No help available? Check these instructions and if that's still not enough, feel free to get in touch with us.

⚠️ Note: It can take a while for a new CNAME to start working.
⚠️CLOUDFLARE users warning: DNS records can have a "Proxied" status in Cloudflare which is a feature that WILL interfere with normal operation here, please make sure your CNAME records are set to "DNS only".

Refer to Cloudflare's own documentation for further explanation if necessary.
💡 Pro tip: For every custom domain that will get mapped to Prezly, our system generates an SSL certificate to make the site default to HTTPS. You don't need to do anything extra for this, but it can take a while (usually an hour max) before the certificate will be applied.
You can update or change your custom domain name by removing the current custom domain, then adding a new one in your site's Domain settings page.
You will also need to update your DNS settings with your IT team or service provider, much as you did for Step 1 above.
Please note: any existing links (including email campaigns) will still point at the old domain, so we suggest that you check with your DNS provider if you can add a redirect from the old custom domain to the new one.
If you need more guidance, please contact our Support team.


